Introduction
Renters often require a flexible solution for mounting standing‑desk anchor brackets without damaging walls or violating lease agreements. This guide explains how to install anchor brackets using adhesive shelf brackets, providing a stable work surface while preserving the original finish of the rental unit. Readers will learn the necessary materials, a clear step‑by‑step process, and practical tips to ensure a secure installation that can be removed cleanly at the end of the tenancy.
The method described relies on strong, no‑drill adhesive brackets that distribute load evenly across the wall surface. By following each step, one can achieve a professional result comparable to traditional screw‑in hardware, but without the risk of holes or paint damage.
It is important to understand why each product is selected, how it contributes to overall stability, and how to avoid common pitfalls that can compromise the anchor system.
With careful preparation and attention to detail, the standing desk will remain steady during daily adjustments, supporting monitors, laptops, and accessories safely.
What You’ll Need
- DHYLRICHER No‑Drill Shelf Brackets (6‑Pack) – DHYLRICHER No‑Drill Shelf Brackets
- Measuring tape or ruler
- Isopropyl alcohol wipes or a mild cleaning solution
- Lint‑free cloth
- Level
- Marker or pencil for layout
- Optional: small rubber mallet for gentle press‑in
All items are readily available at home improvement stores or online. The adhesive brackets serve as the primary anchoring tool, while the remaining supplies ensure accurate placement and optimal adhesion.
Step 1 – Assess the Wall Surface
Begin by identifying a smooth, non‑porous section of the wall where the standing‑desk will be positioned. Ideal surfaces include painted drywall, tile, glass, or finished wood. Avoid areas with obvious cracks, oil stains, or heavy dust, as these conditions reduce adhesive performance.
Use a level to verify that the intended mounting line is perfectly horizontal. Mark the top and bottom edges of the desk frame with a light pencil line, ensuring the marks are aligned with the level. This preparation step prevents misalignment later in the process.
Cleaning the surface is critical. Dampen a lint‑free cloth with isopropyl alcohol and wipe the marked area thoroughly. Allow the surface to air‑dry for at least two minutes. The removal of grease and dust creates a clean substrate for the adhesive brackets to bond effectively.
At this stage, the DHYLRICHER No‑Drill Shelf Brackets are not yet applied, but understanding the wall condition will determine the longevity of the bond.
Step 2 – Prepare the Adhesive Brackets
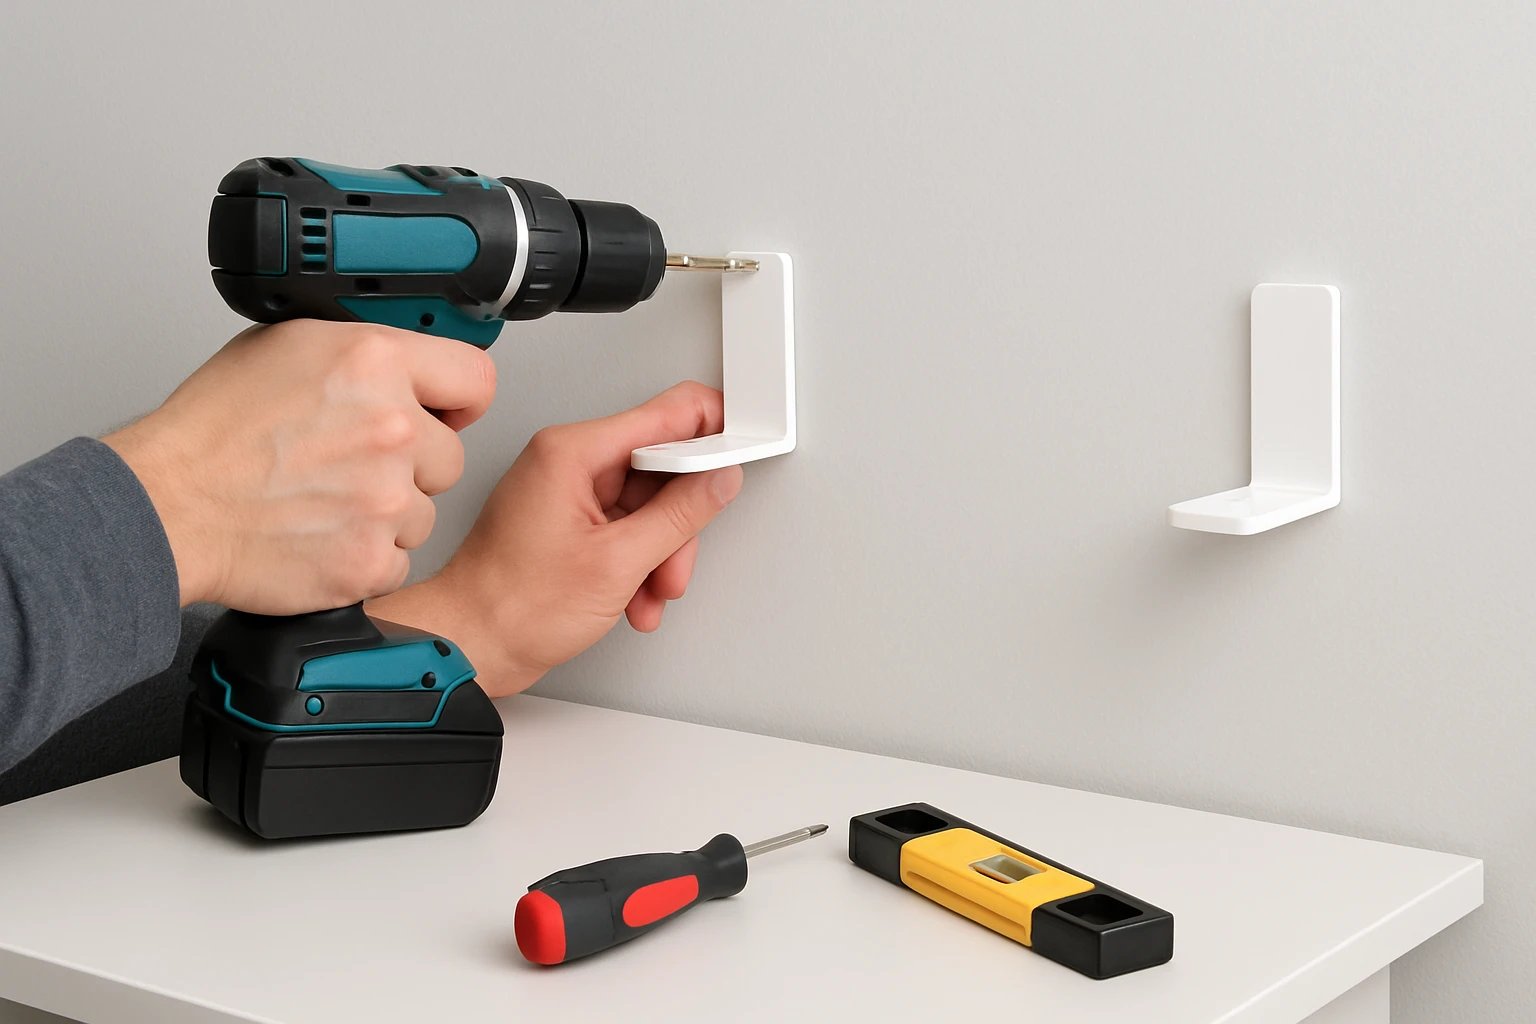
Unpack the six brackets from the DHYLRICHER package. Each bracket measures approximately 6 × 4 inches and features a dual‑row acrylic design that spreads load across a larger area. The transparent material makes the brackets virtually invisible once installed, preserving the aesthetic of the rental space.
Peel off the protective film from the adhesive backing of each bracket. Handle the acrylic carefully to avoid fingerprints, which can interfere with adhesion. If the adhesive feels tacky, set the bracket aside for a few minutes to allow the adhesive to reach its optimal tack level.
Position the brackets on the prepared wall area according to the desk’s mounting points. For a typical standing desk, two brackets per side are sufficient; however, using four brackets (two per side) provides additional redundancy for heavier loads. The product’s rating of 4.3 / 5.0 from 21 reviews indicates reliable performance for moderate weight capacities.
Press each bracket firmly against the wall for at least ten seconds, applying even pressure across the entire surface. For maximum bond strength, use a small rubber mallet to tap the bracket lightly, ensuring full contact without damaging the acrylic.
Step 3 – Allow the Adhesive to Cure
After placement, the adhesive requires a curing period before any load is applied. The manufacturer recommends a minimum of twelve hours of undisturbed setting time. During this period, avoid touching or adjusting the brackets, as movement can weaken the bond.
If possible, schedule the installation overnight. This approach guarantees that the brackets have reached full strength by the time the desk is assembled the following day.
While the brackets cure, verify that the desk’s frame components are ready for assembly. Having all hardware on hand reduces the need to pause the project later, maintaining momentum and ensuring a smooth workflow.
Remember that the adhesive is formulated for multiple surface types, including glass, tile, wood, metal, marble, and plastic. This versatility makes the DHYLRICHER brackets suitable for a wide range of rental environments.
Step 4 – Attach the Desk Frame to the Brackets
Once the twelve‑hour curing period has elapsed, gently test each bracket by applying light pressure with a fingertip. The bracket should feel firmly attached with no movement. If any bracket appears loose, re‑clean the surface and reapply the bracket following the previous steps.
Align the desk’s anchor holes with the pre‑installed brackets. Use the previously drawn pencil marks as a guide to ensure accurate positioning. Insert the desk’s mounting bolts through the anchor holes and into the acrylic brackets. Tighten the bolts by hand until they are snug; avoid over‑tightening, as excessive force can stress the adhesive joint.
After all bolts are in place, use a level to confirm that the desk frame is perfectly vertical. Adjust the bracket positions slightly if necessary, but only within the tolerance allowed by the bracket’s size. The dual‑row design distributes the load across both rows, reducing stress on any single point.
Finally, secure the bolts with a screwdriver or Allen key, following the desk manufacturer’s torque specifications. This step completes the mechanical connection between the desk and the wall.
Step 5 – Test Load Capacity and Stability
Before placing equipment on the desk, perform a load test to verify stability. Begin by applying a modest weight—such as a stack of books—directly on the surface near each bracket. Observe whether the brackets maintain their position without any audible creaking or visible movement.
If the desk feels solid, gradually increase the load to approximate the weight of typical office equipment, including a monitor, laptop, and accessories. The DHYLRICHER brackets are marketed as heavy‑duty, yet the user reviews indicate they are best suited for moderate loads. Ensure the total weight does not exceed the manufacturer’s recommended limit, which is generally around 15 lb per bracket.
Should any bracket show signs of strain, redistribute the weight or add additional brackets from the remaining pack. The six‑pack provides ample flexibility for reinforcement, allowing the user to adapt the installation to heavier configurations if needed.
Document the final load capacity for future reference, especially if the rental agreement requires a condition report upon move‑out.
Tips & Pro Tips
- Always clean the wall with isopropyl alcohol; even a thin film of grease can compromise adhesive strength.
- Apply the brackets at room temperature (between 65°F and 85°F) to ensure optimal curing.
- For extra security, consider using all six brackets in a staggered pattern when the desk spans a wide area.
- When removing the brackets at the end of the lease, gently heat the adhesive with a hair dryer on low setting to soften the bond before peeling.
- Keep a spare set of brackets in a storage box; they can be reused for future projects or sold if no longer needed.
Troubleshooting
Problem: Bracket does not adhere firmly.
Solution: Verify that the surface is completely clean and dry. If the wall is painted with a glossy finish, lightly sand a small area to create a matte texture before re‑applying the bracket.
Problem: Desk wobbles after installation.
Solution: Distribute the load more evenly by adding additional brackets from the pack. Ensure each bolt is tightened to the correct torque and that the level confirms vertical alignment.
Problem: Adhesive residue remains after removal.
Solution: Use a commercial adhesive remover or gently scrape with a plastic scraper, followed by cleaning with isopropyl alcohol.
Conclusion
This guide has demonstrated a renter‑friendly, no‑drill method for installing standing‑desk anchor brackets using DHYLRICHER No‑Drill Shelf Brackets. By preparing the wall, allowing proper curing time, and testing load capacity, one can achieve a stable and professional installation without compromising the rental property. The approach combines practicality with respect for lease terms, enabling a productive home office environment.
Readers are encouraged to follow each step carefully, apply the provided tips, and adapt the process to their specific space. With the right tools and attention to detail, a standing desk can be securely anchored and easily removed when the tenancy ends.
Products Mentioned in This Guide
Frequently Asked Questions
Can I install standing desk anchor brackets in a rental without drilling?
Yes, using strong no‑drill adhesive shelf brackets lets you mount the brackets without creating holes or violating lease terms.
What type of adhesive brackets are recommended for a no‑drill installation?
Look for heavy‑duty, double‑sided adhesive brackets that are rated for the weight of a desk and have a large surface area to distribute load evenly.
How do I ensure the brackets can support the weight of a standing desk and monitors?
Check the product’s load rating, clean the wall surface thoroughly, and press the brackets firmly for the recommended curing time before adding the desk.
Will the adhesive brackets damage the wall when removed at move‑out?
When removed according to the manufacturer’s instructions, the brackets typically peel off without leaving marks or paint damage.
What are common mistakes to avoid when installing no‑drill anchor brackets?
Avoid skipping surface cleaning, using brackets with insufficient load capacity, and neglecting the recommended curing time before loading the desk.