How to Repurpose a Standing Desk Motor: Step‑by‑Step DIY Guide and 12 Creative Upcycle Projects
Introduction
One of the most valuable components of a modern sit‑stand workstation is the electric motor that raises and lowers the desktop. By extracting this motor, one can create a variety of automated or semi‑automated devices that add convenience and novelty to the home or workshop. This guide will teach the reader how to safely remove a standing‑desk motor, prepare it for reuse, and apply it to twelve distinct upcycle projects. The reader will also discover which commercially available desk frames provide the most reliable motors for this purpose.
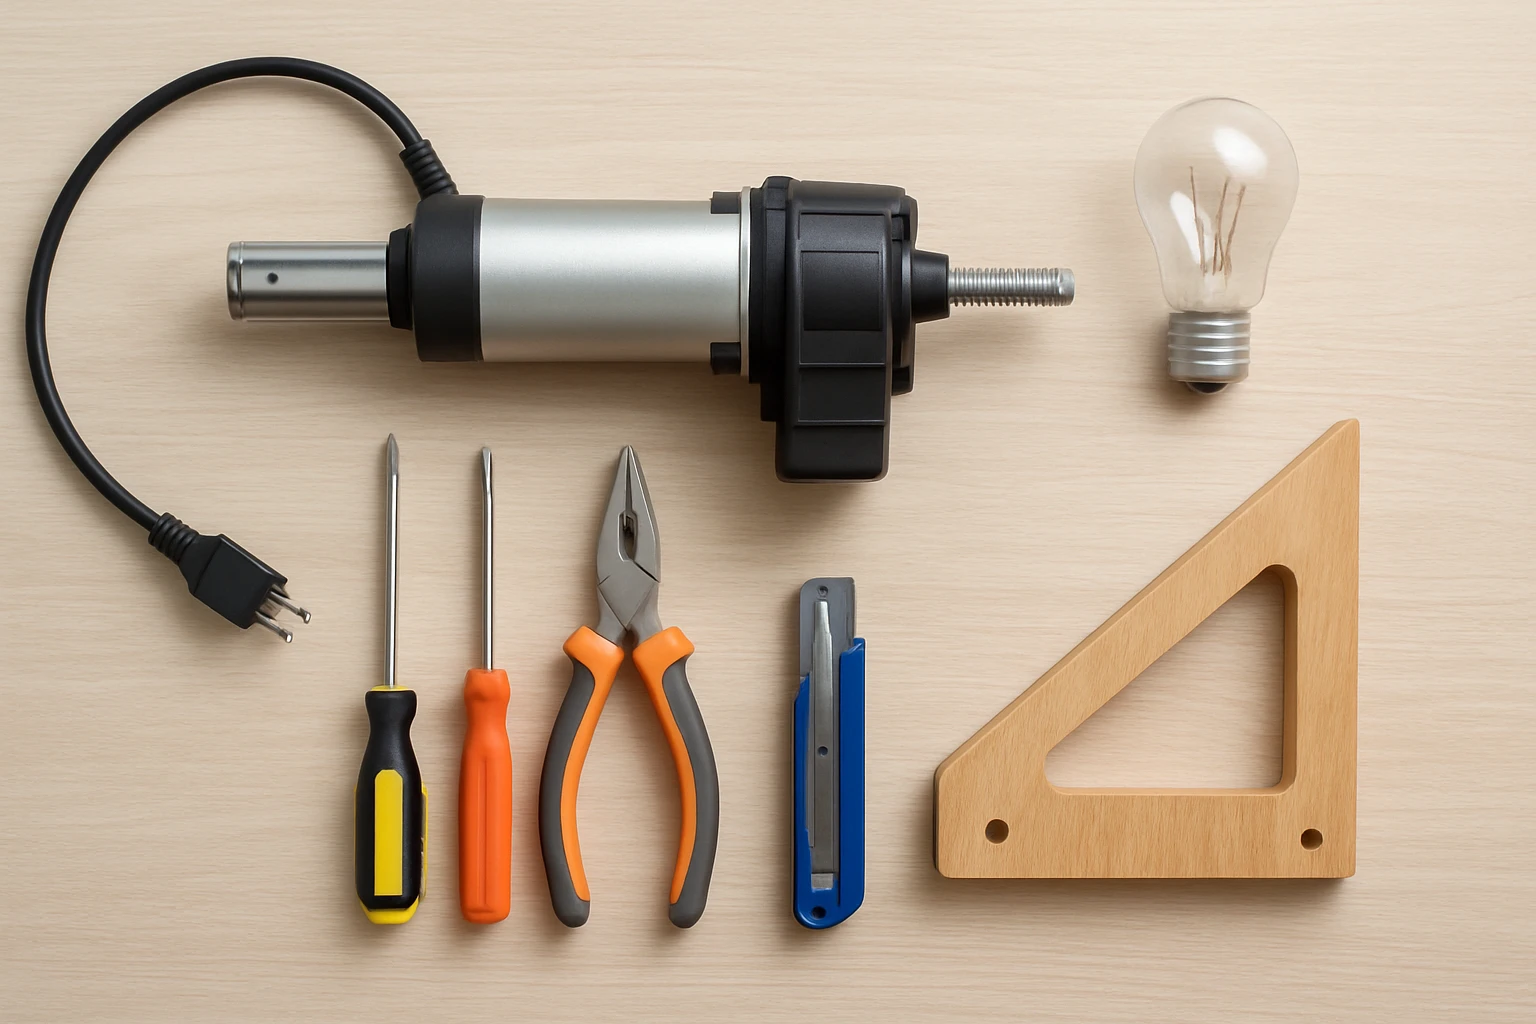
What You Will Need
- Screwdriver set (Phillips and flat‑head)
- Wire cutters / stripper
- Electrical tape or heat‑shrink tubing
- Soldering iron (optional for permanent connections)
- Mounting brackets or custom‑fabricated mounts
- Power supply compatible with 110‑240 V (if the motor will be used independently)
- Safety goggles and insulated gloves
- PulvinarVita Adjustable Desk Frame – source of a high‑capacity dual motor
- ErGear Dual Motor Desk Frame – alternative motor with four memory presets
- CROWNFURN Electric Desk Frame – budget‑friendly motor option
- Heschen Motor for Microwave Turntable – small synchronous motor for low‑load projects
- farexon Electric Desk Frame with Wheels – dual‑beam frame that includes a robust motor and mobility features
Step 1: Disassemble the Desk Frame to Access the Motor
The first major step is to separate the motor assembly from the surrounding frame components. Begin by placing the desk on a stable work surface and removing any desktop that is attached to the frame. Using a Phillips screwdriver, detach the mounting screws that secure the motor housing to the steel legs. The PulvinarVita Adjustable Desk Frame features reinforced steel legs and a motor that glides at 1" per second, making the removal process straightforward; the frame is rated 5/5 stars by four reviewers and costs $109.99, providing excellent value for a high‑quality motor.
After the screws are removed, gently lower the motor housing until the wiring connectors become visible. It is advisable to photograph the original wiring configuration before disconnecting any cables; this visual reference will simplify re‑assembly later. For frames such as the ErGear Dual Motor Desk Frame, the motor is attached with a quick‑release latch that can be disengaged without tools, reducing the risk of damaging the motor housing. The ErGear model is priced at $169.99, carries a 4.7/5.0 rating from 440 reviews, and includes four memory presets for precise height control.
When the motor is free, set it aside on a non‑conductive surface and label each wire with masking tape. The motor connectors are typically color‑coded; red indicates positive voltage, black indicates ground, and a third wire may carry a control signal. Keep the original connector plugs intact if possible, as they can be reused with an appropriate adapter.
Step 2: Identify Power Requirements and Select a Compatible Supply
Standing‑desk motors are designed to operate on a wide voltage range, typically 110‑240 V AC, which matches most household outlets. Verify the motor’s voltage rating printed on the housing; the CROWNFURN Electric Desk Frame explicitly supports 100‑240 V, making it suitable for both North American and European power standards. This frame is priced at $75.99, holds a 4.3/5.0 rating from 55 reviewers, and can support up to 176 lb, indicating a motor with moderate torque.
If the intended project requires lower voltage, such as a battery‑powered garden lift, the Heschen Motor for Microwave Turntable operates at 220‑240 V but can be driven by a DC‑to‑AC inverter for low‑power applications. This motor costs $6.59, has a 4.6/5.0 rating from 1,423 reviews, and is compact enough for small mechanisms like rotating spice racks.
Select a power supply that matches the motor’s current draw; most desk motors require 1‑2 A at full load. An off‑the‑shelf AC‑to‑DC adapter rated for 12 V 2 A can be used with a step‑down transformer if the project calls for lower voltage. Ensure the adapter includes over‑current protection to prevent motor burnout.
Step 3: Prepare Wiring and Connectors
After confirming the power source, strip approximately ½ inch of insulation from each motor wire using wire cutters. Twist the exposed copper strands together and apply electrical tape or heat‑shrink tubing to create a secure connection. For a more permanent solution, solder the wires to a plug that matches the chosen power supply; this method reduces resistance and improves reliability.
The motor from the farexing Electric Desk Frame with Wheels includes an extended controller cord, which can be repurposed as a ready‑made power lead. The farexing model costs $119.99, carries a 4.6/5.0 rating from 12 reviews, and supports up to 200 lb, indicating a sturdy motor capable of handling heavier loads such as a motorized bookshelf.
When connecting the control signal wire, use a momentary push‑button switch to simulate the desk’s up/down commands. This simple interface allows the motor to be operated manually without the original controller board. Label the switch terminals clearly to avoid confusion during testing.
Step 4: Mount the Motor to the New Project
The motor housing is typically rectangular with pre‑drilled mounting holes. Align these holes with the mounting points on the target structure and secure the motor using M5 or M6 bolts, depending on the frame. For projects that require a sliding motion, such as an automated window blind, attach the motor to a linear guide rail using the brackets supplied with the PulvinarVita Adjustable Desk Frame. The frame’s cable management tray can be repurposed to hide wiring, preserving a clean aesthetic.
If the project involves a rotating platform, such as a turntable for a craft table, the motor’s output shaft can be coupled to a ¼‑inch pulley using a set screw. The ErGear Dual Motor Desk Frame provides a robust shaft that tolerates high torque, making it ideal for continuous rotation.
Secure all fasteners with a torque wrench set to the manufacturer’s specification (typically 4‑6 Nm) to avoid over‑tightening, which could deform the motor housing. Double‑check that the motor is level; an uneven mounting will cause uneven wear and noisy operation.
Step 5: Test Operation and Calibrate Movement
Before finalizing the installation, power the motor and observe its behavior. Activate the up command and verify that the motor lifts smoothly without stalling; a quiet operation indicates that the bearings are well lubricated. If the motor produces a grinding sound, pause the test and inspect the shaft for debris.
Use the memory presets on the original controller (if retained) to set desired positions. For the farexing Electric Desk Frame, three programmable memory slots allow the user to store frequently used heights, which can be repurposed as preset positions for a motorized standing‑desk converter.
Record the time required for a full travel cycle; this metric will be useful when designing timed mechanisms such as an automated pet feeder. Adjust the speed setting if the motor includes a variable‑frequency drive; otherwise, the speed is fixed at approximately 1" per second for most dual‑motor frames.
Step 6: Safety Considerations and Final Adjustments
Always disconnect power before making mechanical adjustments; this prevents accidental activation that could cause injury. Verify that all exposed wires are insulated and that the motor housing is grounded to the metal frame, reducing the risk of electric shock.
Install a child‑lock feature if the motor will be used in a household with children; the farexing Electric Desk Frame includes a built‑in child lock that can be engaged via the controller panel.
Finally, perform a load test by applying the maximum expected weight or resistance to the motor. Observe the temperature of the motor after ten minutes of continuous operation; it should not exceed 60 °C. If overheating occurs, consider adding a small fan or reducing the duty cycle.
Tips & Pro Tips
- Use a digital multimeter to verify voltage and continuity before connecting the motor to a power source.
- When repurposing a dual‑motor system, operate both motors in unison to double the lifting capacity.
- Apply a thin layer of silicone grease to the motor’s moving parts to extend its lifespan.
- For projects that require precise positioning, attach an incremental encoder to the motor shaft.
- Keep the original controller board as a backup; it can be integrated into a custom Arduino‑based control system.
Creative Upcycle Projects (12 Ideas)
- Motorized Bookshelf – Attach the motor to a sliding shelf mechanism to raise and lower books with a button press.
- Automated Window Blind – Connect the motor to a cord that lifts fabric blinds, enabling remote opening.
- Adjustable Standing‑Desk Converter – Use the motor to convert a traditional desk into a height‑adjustable workstation.
- Smart Pet Feeder – Combine the motor with a rotating food bowl to dispense meals on a schedule.
- Rotating Craft Table – Mount the motor beneath a tabletop to rotate a work surface for easy access.
- Motorized Plant Lift – Raise indoor plants to optimal light levels throughout the day.
- DIY Lift‑Assist Garage Storage – Install the motor on a ceiling‑mounted rack to lift heavy tools.
- Adjustable TV Stand – Enable height adjustment for a television to improve ergonomics.
- Automated Kitchen Island – Use the motor to raise a countertop for standing cooking.
- Motorized Art Easel – Adjust the height of an easel for painters of varying stature.
- Smart Laundry Hamper – Raise a hamper to a convenient height for loading and unloading.
- Motorized Garden Trellis – Move a trellis up and down to accommodate growing vines.
Conclusion
The reader now possesses a clear, step‑by‑step methodology for extracting a standing‑desk motor and integrating it into a variety of functional projects. By selecting the appropriate frame—such as the high‑capacity PulvinarVita Adjustable Desk Frame or the budget‑friendly CROWNFURN Electric Desk Frame—the user can ensure reliable performance and longevity. The twelve upcycle ideas illustrate how a single motor can inspire creativity across home, office, and garden environments. One is encouraged to experiment responsibly, observe safety protocols, and share the results with the maker community.
Products Mentioned in This Guide
Frequently Asked Questions
How do I safely remove a standing‑desk motor from its frame?
Turn off power, disconnect the cable, remove mounting screws, and use insulated gloves and goggles while extracting the motor.
What power supply is needed to run a desk motor independently?
A 110‑240 V DC power supply matching the motor’s voltage and current rating, with proper polarity and overload protection.
Which desk frames provide the most reliable motors for upcycling?
Frames from brands like UPLIFT, Fully, and Vari offer robust, low‑noise motors that are easy to detach and reuse.
Can I control the repurposed motor with a microcontroller?
Yes, by wiring the motor’s control leads to a relay or motor driver that a microcontroller can trigger via PWM or simple on/off signals.
What are some quick upcycle projects for a standing‑desk motor?
Ideas include an automated window blind, a motorized pet feeder, a height‑adjustable workbench, a DIY lift‑table for a printer, or a motorized laptop stand.