Introduction
In today’s remote‑work environment, alternating between sitting and standing can dramatically improve concentration, reduce musculoskeletal strain, and increase overall output. This guide explains how to construct a personalized sit‑stand schedule, select the right equipment, and maintain the habit over weeks and months. Readers will leave with a clear timetable, actionable steps, and confidence to adapt the plan to any home office layout.
The approach blends evidence‑based ergonomics with practical tools, ensuring that the schedule is both realistic and sustainable. By following the step‑by‑step instructions, one can expect fewer back complaints, steadier energy levels, and measurable productivity gains. The guide remains valuable even if one chooses not to purchase any recommended items, although the suggested products simplify implementation.
What You’ll Need
- An adjustable surface that can transition from seated to standing height.
- A supportive anti‑fatigue mat to cushion prolonged standing.
- A reliable timer to signal interval changes.
- A notebook or digital app for tracking progress.
Below are optional but highly effective products that align with each requirement.
Step 1: Assess Your Space and Workflow
Begin by measuring the available desk surface, ceiling height, and the distance to power outlets. Determine the typical tasks performed—writing, video calls, or graphic design—as each may dictate a different optimal standing height. Sketch a simple floor plan noting where the computer monitor, keyboard, and mouse will reside when the desk is raised.
Assess lighting, cable management, and any obstacles that could hinder movement. This assessment prevents costly adjustments later and ensures the chosen equipment fits seamlessly into the existing environment.
Step 2: Set Up an Adjustable Workstation
Investing in a quality sit‑stand converter eliminates the need to purchase a full‑size standing desk while providing the same ergonomic benefits. The VIVO Desk Converter offers a spacious 36‑inch surface, a sturdy steel frame, and a lift‑assist mechanism that supports up to 33 lb on the desktop and 4.4 lb on the keyboard tray.
Why choose this model? Its patented simple‑touch height‑locking system allows a smooth transition from 4.5" to 20" in height, enabling one‑hand operation without interrupting workflow. At $152.99 and a 4.6‑star rating from over 15,000 reviewers, it balances durability with affordability. The minimal assembly requirement means the converter can be ready for use within minutes, reducing downtime.
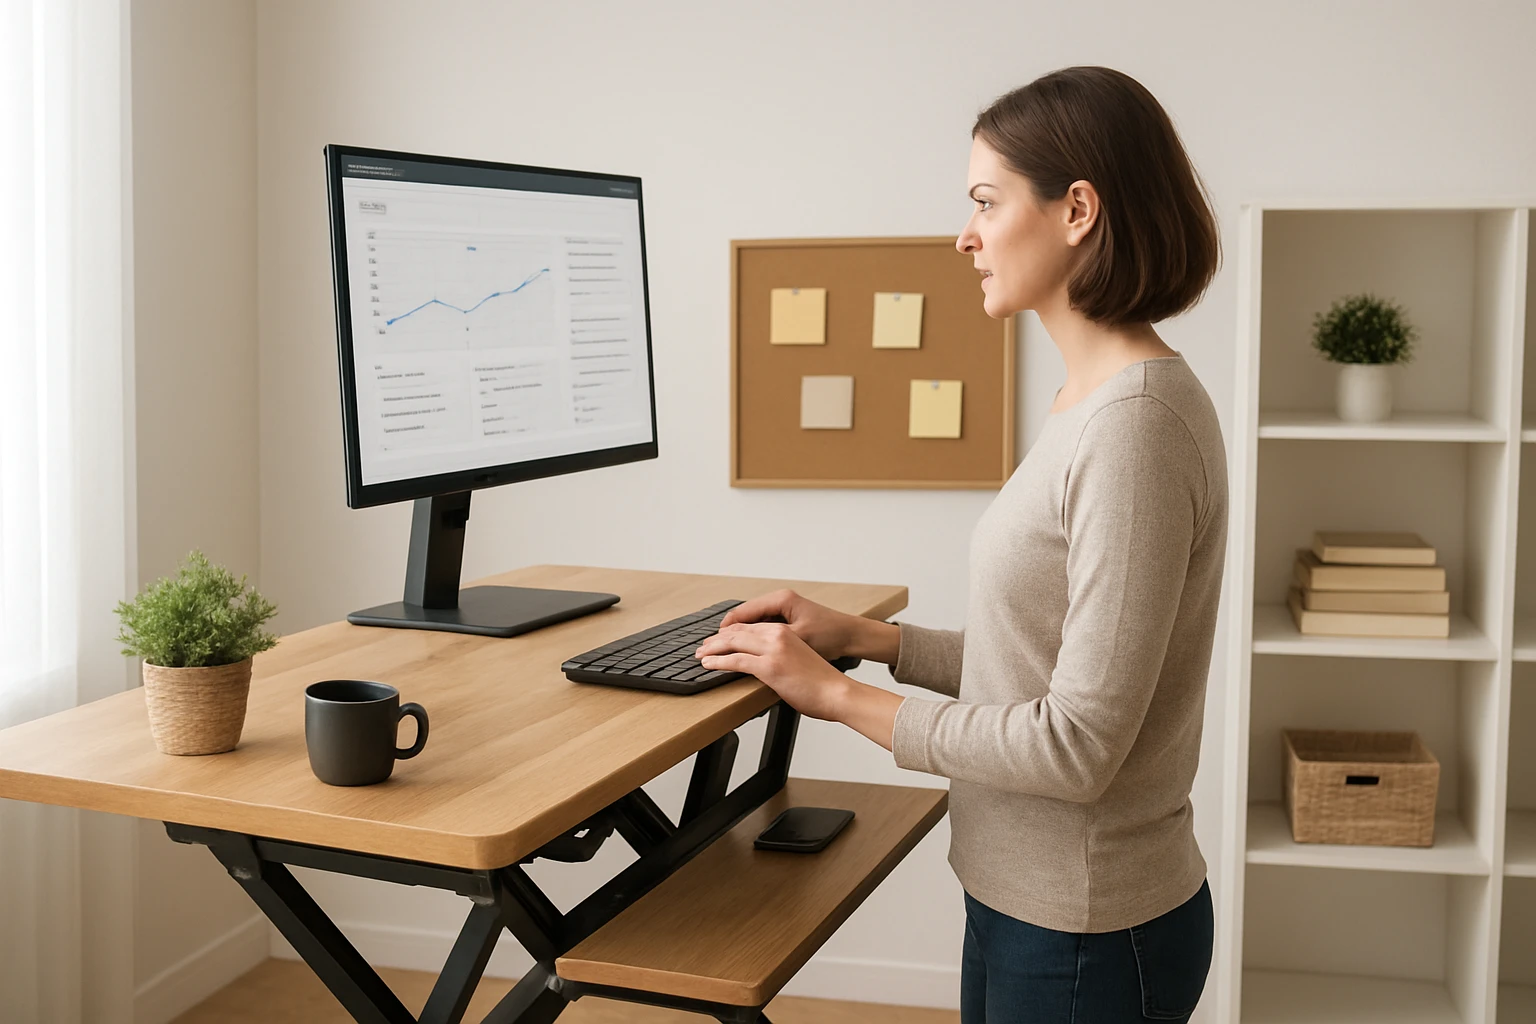
Place the converter on the existing desk, attach the keyboard tray, and align the monitors so that the top of the screen is at eye level when standing. This configuration promotes a neutral neck posture and prevents forward head tilt.
Step 3: Choose an Anti‑Fatigue Mat
Standing on a hard floor for extended periods can lead to foot fatigue and reduced circulation. A high‑quality anti‑fatigue mat distributes pressure evenly and encourages subtle micro‑movements that stimulate blood flow.
Two colour options are available from the same manufacturer. The KMAT Anti‑Fatigue Kitchen Mat (Khaki) measures 39" × 20", is constructed from premium PVC and thick foam, and features a non‑slip beveled edge. Priced at $37.99 with a 4.5‑star rating from 19,000 reviews, it offers waterproof durability and easy cleaning—ideal for a home office where spills may occur.
If a darker aesthetic better matches the décor, the KMAT Anti‑Fatigue Kitchen Mat (Brown) provides the same dimensions and performance at $35.99. Both mats support prolonged standing without compromising stability, and their anti‑slip undersides keep the converter steady during height adjustments.
Place the mat directly beneath the converter’s footplate, ensuring the entire standing area is covered. This placement reduces joint stress and encourages a more comfortable stance.
Step 4: Design Your Sit‑Stand Schedule
Research suggests a 30‑minute sit, 30‑minute stand cycle optimizes circulation while preserving focus. However, individual tolerance varies; beginners may start with 20‑minute intervals and gradually increase.
Draft a weekly timetable that aligns with meeting times, deep‑work blocks, and personal energy peaks. For example, schedule standing during routine email checks and sit for intensive writing tasks. Use colour‑coding in a digital calendar to visualize the pattern.
Record the schedule in a notebook or task‑management app, noting any discomfort or productivity spikes. This data will inform future adjustments and help cement the habit.
Step 5: Use a Timer to Enforce Intervals
Manual tracking can be error‑prone; a dedicated timer provides audible or tactile cues without the distraction of phone notifications. The VEWINGL Cube Timer offers preset intervals of 5, 10, 30, and 60 minutes, as well as custom countdowns up to 99 minutes 59 seconds.
Its compact 1.8 × 1.7 × 1.7 inches size fits comfortably on any desk, and the rechargeable USB‑C battery eliminates the need for disposable cells—a sustainable choice. Priced at $22.99 with a 4.7‑star rating from 115 reviewers, it delivers a clear visual cue, silent vibration mode for shared spaces, and adjustable alarm volume.
Set the timer to the desired sit‑stand interval and place it within peripheral view. When the timer signals a change, adjust the VIVO converter, stand, or sit accordingly. The tactile vibration option is especially useful during video calls where an audible alarm would be disruptive.
Step 6: Monitor, Review, and Refine
After two weeks of consistent use, evaluate the effectiveness of the schedule. Track metrics such as average daily standing time, number of posture‑related aches, and task completion rates.
If fatigue emerges, consider shortening standing periods or adding micro‑breaks of 1‑2 minutes to stretch calves and shoulders. Conversely, if energy remains high, extend standing intervals by 5‑minute increments.
Document any equipment issues—such as wobble in the converter or slipping of the mat—and address them promptly. Regularly updating the timetable ensures the routine evolves with changing work demands.
Tips & Pro Tips
- Begin each day with a brief full‑body stretch to prepare muscles for alternating postures.
- Maintain a neutral wrist position by keeping elbows at a 90‑degree angle on the keyboard tray.
- Use a monitor riser or adjustable arm if the VIVO converter’s height range does not align with eye level.
- Pair the anti‑fatigue mat with a supportive office chair that encourages active sitting.
- Set the VEWINGL timer to silent vibration during collaborative meetings to avoid interruptions.
Troubleshooting
Converter feels unstable. Ensure the underlying desk is level and tighten any loose screws on the VIVO unit. Adding a non‑slip pad beneath the converter can improve grip.
Mat slides on polished floors. Press the beveled edge firmly into the floor and consider a thin rubber underlay if movement persists.
Timer does not reset. Perform a quick reset by holding the power button for three seconds, then re‑program the desired interval.
Conclusion
Creating a sit‑stand schedule is a systematic process that blends ergonomic principles with simple tools. By assessing the workspace, installing the VIVO Desk Converter, protecting the feet with a KMAT anti‑fatigue mat, and timing transitions with the VEWINGL Cube Timer, one can achieve sustained productivity and healthier work habits.
Remember that the schedule is a living document; regular review and minor tweaks will keep it aligned with personal goals and evolving tasks. Implement the sample timetable, monitor results, and enjoy the measurable benefits of a balanced sitting‑standing routine.
Products Mentioned in This Guide
Frequently Asked Questions
How often should I alternate between sitting and standing?
Aim to switch every 30‑60 minutes; start with 45‑minute intervals and adjust based on comfort and focus.
What basic equipment do I need for a sit‑stand schedule?
An adjustable desk or converter, an anti‑fatigue mat, a timer, and a method to log your sessions (notebook or app).
How can I track my sit‑stand progress effectively?
Use a simple spreadsheet or a dedicated app to record start times, durations, and any discomfort notes each day.
Is it safe to stand for long periods without a mat?
Standing on a hard surface can increase fatigue and joint strain; an anti‑fatigue mat cushions your feet and encourages longer, comfortable standing periods.
What productivity benefits can I expect from a sit‑stand routine?
Users typically report reduced back pain, steadier energy levels, and a measurable boost in focus and output over several weeks.