Introduction
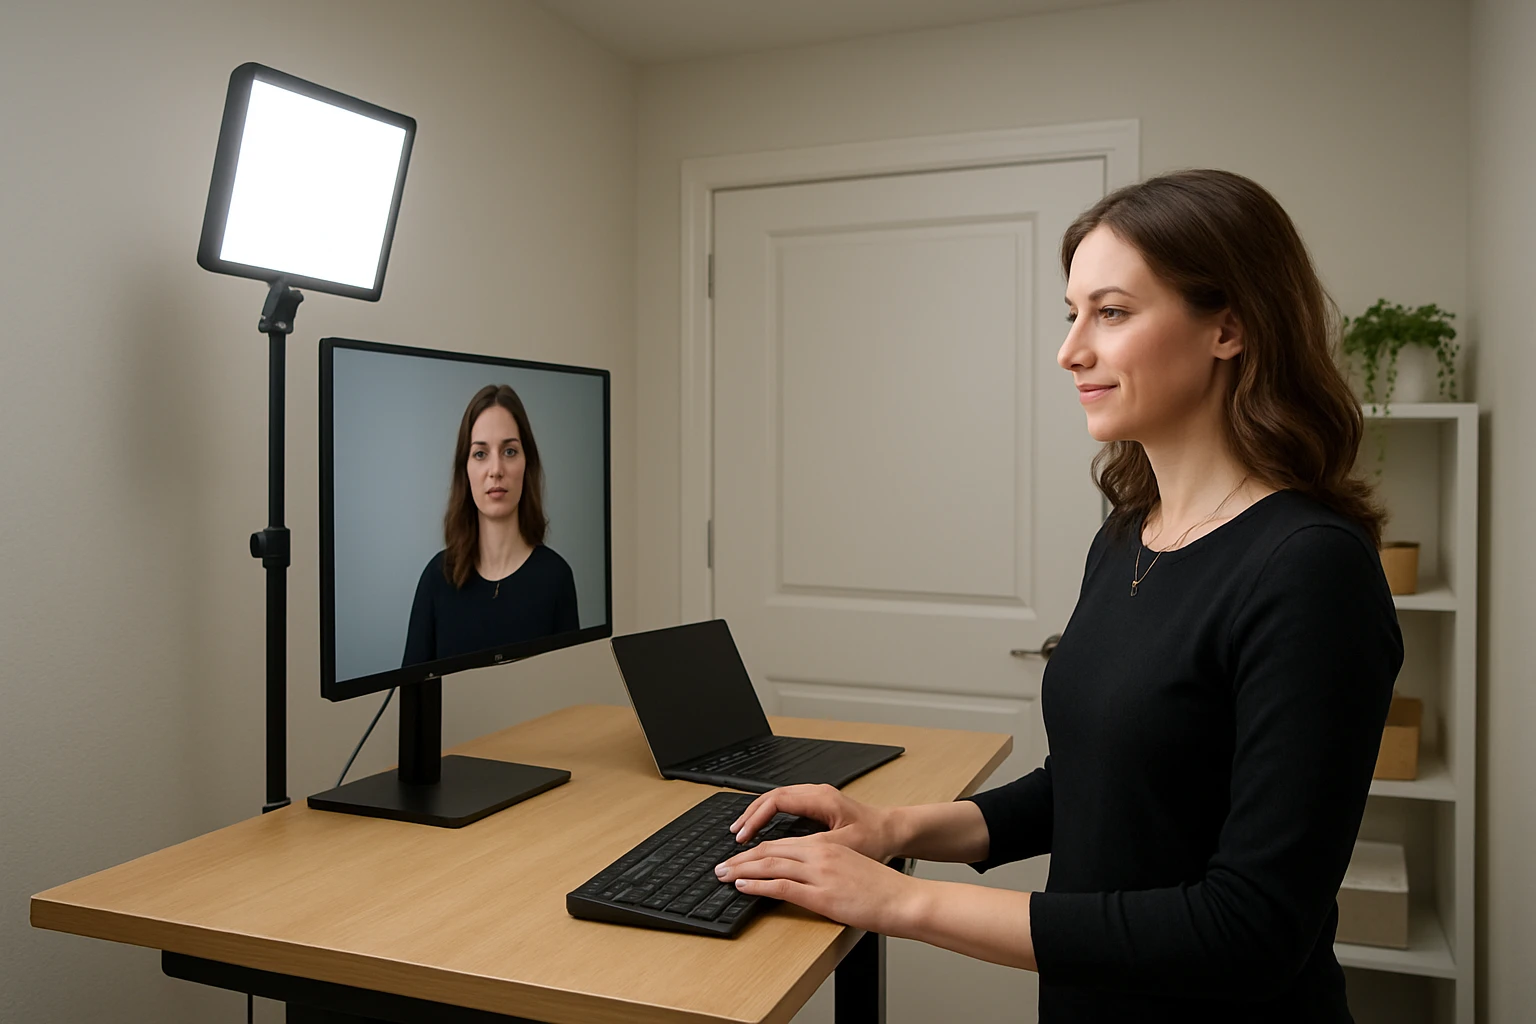
One often underestimates the impact of lighting on virtual communication. In a small room, a standing desk can create shadows, glare and uneven illumination that diminish professional presence. This guide explains how to evaluate the environment, select appropriate lighting tools, and adjust settings to achieve consistent, flattering illumination for video calls. Readers will learn practical steps that rely on inexpensive accessories, yet also understand why premium solutions can simplify the process.
What You’ll Need
- LitONES Desk Ring Light – $37.97, 4.6/5 rating, 30 lighting modes, memory function.
- Cyezcor Monitor Clip‑On Ring Light – $21.99, 4.3/5 rating, 3 color temperatures, 5 brightness levels.
- Logitech Litra Glow – $49.99, 4.5/5 rating, adjustable brightness and temperature, USB powered.
- Adjustable monitor or laptop stand (optional), anti‑glare screen filter, a small tripod or clamp if desk space is limited.
Step 1: Assess the Lighting Environment
The first action is to observe the natural and artificial light sources that already exist in the room. One should note the direction of windows, the intensity of overhead fluorescents and any ambient lamps. In a small space, light often comes from a single side, creating harsh shadows on the opposite cheek. Document the time of day when calls most frequently occur, because sunlight intensity changes dramatically between morning and evening. This assessment informs the placement of supplemental lighting tools.
Step 2: Position Your Standing Desk for Optimal Light
After the assessment, relocate the standing desk so that the primary light source—usually a window—faces the user at a 45‑degree angle. This angle reduces shadows while preserving a natural background. If the desk must remain against a wall, use a reflective surface such as a light‑colored board to bounce light toward the face. Keep the monitor at eye level to avoid neck strain and to ensure the camera captures a straight‑on view. Verify that the background is tidy; a cluttered backdrop can distract viewers even when lighting is perfect.
Step 3: Choose and Install a Primary Light Source
The most critical component is a dedicated light that delivers even, soft illumination directly onto the face. The LitONES Desk Ring Light excels in this role because it offers a 4‑layer optical soft panel that diffuses harsh glare while preserving color accuracy. Its CRI rating above 98 ensures skin tones appear natural, a feature that cheaper LEDs often lack. The product provides 30 customizable lighting modes, allowing the user to select a warm 2700 K setting for evening calls or a cool 6500 K setting for daytime meetings. The built‑in memory function stores the preferred configuration, eliminating the need for repeated adjustments.
Installation is straightforward: attach the flexible metal stand to the desk, extend it to a comfortable height (20.5–28.5 inches), and swivel the square 7 × 7 inch head to face the user. The included phone holder can secure a smartphone for secondary camera angles, further expanding flexibility. Because the base includes anti‑scratch foam pads, the ring light remains stable on polished surfaces without damaging the desk.
Step 4: Add Supplemental Lighting for Fill and Balance
Even with a primary ring light, a small room may still produce uneven lighting on the far side of the face. A secondary, lower‑profile light can fill in these gaps. The Cyezcor Monitor Clip‑On Ring Light is ideal for this purpose because it clamps directly to the top edge of a monitor, saving valuable desk space. Its three color temperatures (3200 K–6800 K) and five brightness levels enable fine‑tuning to complement the primary light without overwhelming the scene.
To install, open the clip, position it on the monitor’s upper bezel, and tighten the screw until secure. Rotate the head until the light spills gently onto the opposite cheek, creating a balanced, three‑dimensional appearance. The USB power option allows the clip‑on light to draw power from the same computer that powers the primary ring light, reducing cable clutter.
Step 5: Fine‑Tune Color Temperature and Brightness
Precise control over color temperature and intensity is essential for matching the lighting to the user’s skin tone and the room’s ambient light. The Logitech Litra Glow offers a compact, USB‑powered solution that integrates with Logitech’s G HUB software. The software provides presets for popular video platforms, allowing the light to turn on automatically when Zoom or Teams launches. Its TrueSoft technology delivers full‑spectrum illumination with cinematic color accuracy, ensuring the user appears vibrant on camera.
Mount the Litra Glow on the monitor using the patented three‑way clamp, then adjust height, tilt and rotation until the light falls just above eye level. Use the G HUB app to set a warm 3500 K tone for evening calls or a neutral 5000 K tone for daytime sessions. The ability to control the light from the desktop eliminates the need to reach for physical buttons, preserving a professional posture.
Tips & Pro Tips
- When possible, position the primary light slightly above eye level and angle it downward by 10–15 degrees to mimic natural sunlight.
- Use a matte, neutral background to prevent color casts from reflecting off the wall.
- Enable the memory function on the LitONES Ring Light to retain the optimal setting for each time of day.
- For extremely tight spaces, consider a flexible gooseneck arm to place the primary light behind the monitor without occupying desk surface.
- Test the lighting on camera before important meetings; most video platforms provide a preview window.
- Adjust the monitor’s brightness to complement the external lighting, avoiding a washed‑out appearance.
Troubleshooting
- Problem: The face appears overexposed.
Solution: Reduce the brightness on the primary ring light or switch to a lower color temperature; ensure the supplemental light is not directed straight at the camera. - Problem: Shadows remain on one side of the face.
Solution: Add a fill light such as the Cyezcor Clip‑On Ring Light and position it opposite the primary source. - Problem: The light flickers when using a USB hub.
Solution: Connect the device directly to a dedicated USB port or use a powered USB hub. - Problem: Glare from the monitor screen interferes with the image.
Solution: Apply an anti‑glare screen filter and tilt the monitor slightly forward.
Conclusion
By following the systematic approach outlined above, one can transform a modest standing desk in a small room into a professional video‑call station. Assessing the environment, positioning the desk, selecting a high‑CRI primary light, adding a clip‑on fill light, and fine‑tuning temperature with software‑controlled illumination collectively deliver a polished on‑camera presence. The recommended tools—LitONES Desk Ring Light, Cyezcor Monitor Clip‑On Ring Light, and Logitech Litra Glow—provide reliable performance while remaining affordable. Implement these steps, and every virtual meeting will convey confidence, clarity and visual professionalism.
Products Mentioned in This Guide
Frequently Asked Questions
Why does lighting matter for video calls from a standing desk in a small room?
Proper lighting reduces shadows, glare, and uneven illumination, making you appear more professional and easier to see on camera.
What is the most affordable ring light option for a standing desk?
The LitONES Desk Ring Light, priced around $38, offers multiple modes and a memory function at a low cost.
Can a monitor‑clip light improve video call lighting, and which model is recommended?
Yes; the Cyezcor Monitor Clip‑On Ring Light provides three color temperatures and five brightness levels for flexible desk setups.
How does the Logitech Litra Glow differ from cheaper ring lights?
It offers USB power, precise brightness and temperature control, and a higher build quality for a premium lighting experience.
What simple adjustments can enhance lighting without buying new equipment?
Position the light source in front of you, use a diffuser or white backdrop, and tilt the desk to minimize shadows.