How to Mount Monitors and Optimize Lighting for Standing Desks in Small Rooms — Space‑Saving Ergonomic Guide
Introduction
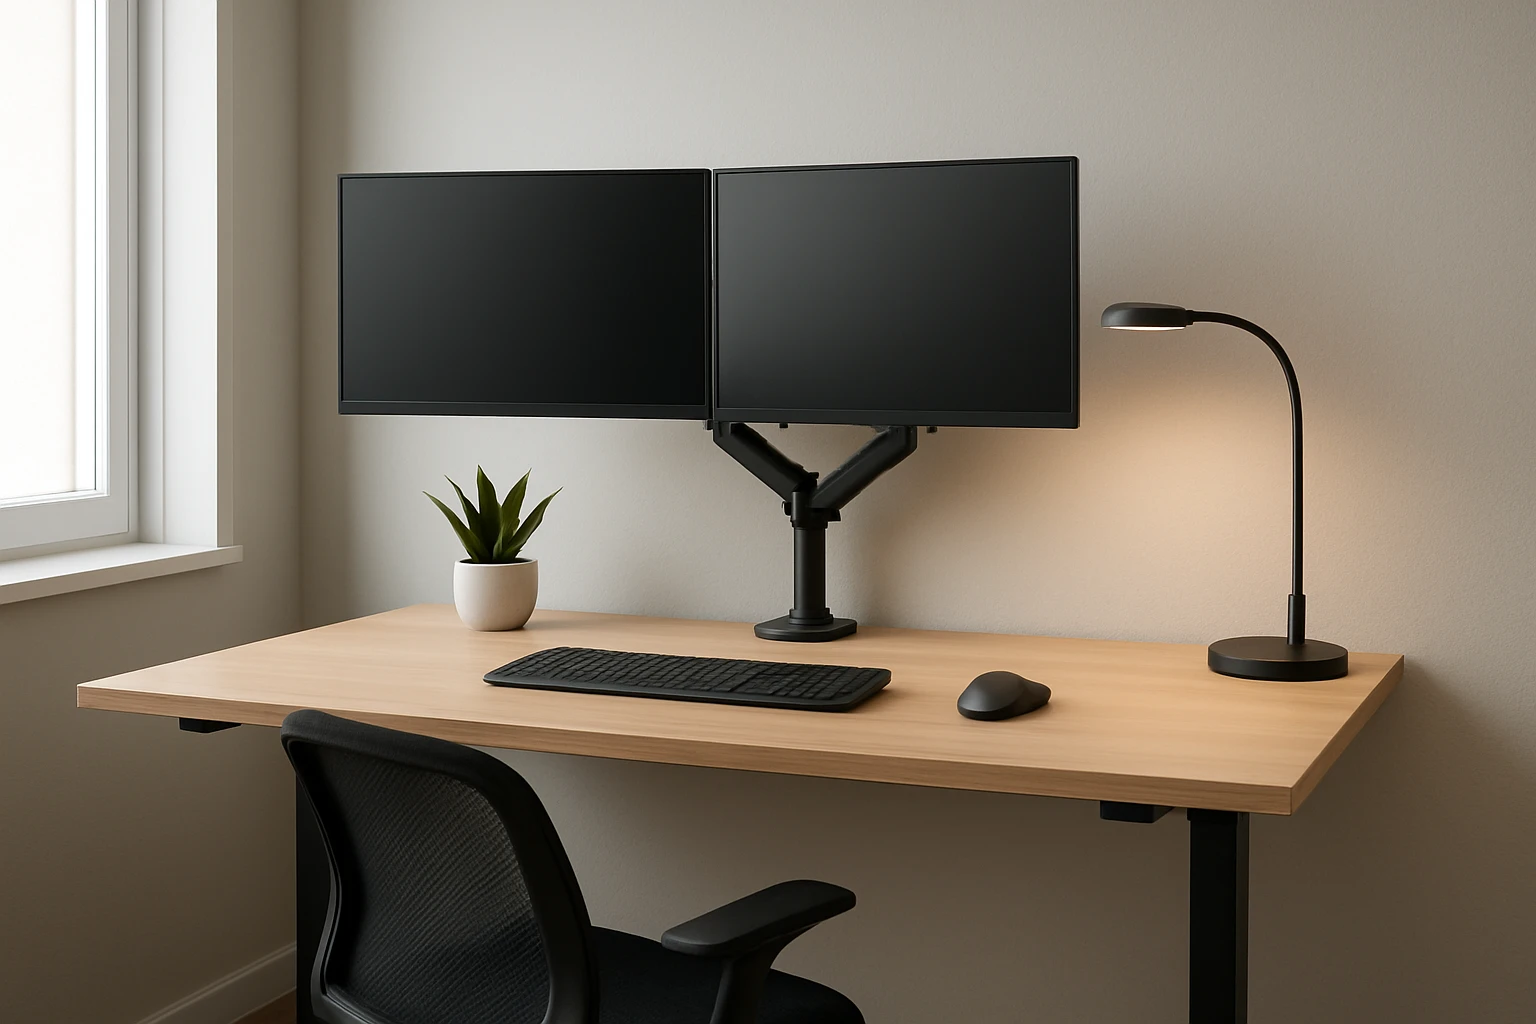
In modern work environments, standing desks have become a popular solution for improving posture and increasing energy. However, limited floor space often makes it challenging to mount monitors and provide adequate lighting without creating clutter. This guide explains how to select and install space‑saving monitor mounts, arrange ergonomic lighting, and fine‑tune the setup for maximum comfort. By following the steps, one can transform a small room into a productive workstation that supports both health and efficiency.
What You’ll Need
- Stud finder and level
- Power drill with appropriate bits (minimum 1/4")
- Screwdriver set
- Wall‑mount bracket (WALI Full Motion TV Wall Mount)
- Desk‑mounted arm (Amazon Basics Adjustable Monitor Stand)
- LED desk lamp with adjustable arm
- Cable management clips or sleeves
- Measuring tape
Step 1: Assess Your Space and Choose the Mounting Method
The first task is to evaluate the dimensions of the room, the height of the standing desk, and the viewing distance required for the monitor. In a small room, wall‑mounted solutions free up valuable desk surface, while a desk‑mounted arm can provide flexibility for collaborative work. One should consider the weight and VESA pattern of the monitor; both recommended products support 75 mm × 75 mm and 100 mm × 100 mm mounting holes, covering most 13‑ to 32‑inch screens. Selecting the appropriate method ensures that the monitor remains stable and that the lighting can be positioned without obstruction.
Step 2: Gather Tools and Materials
Before beginning installation, gather all required tools to avoid interruptions. A stud finder will locate wooden studs, which are essential for supporting the WALI Full Motion TV Wall Mount safely. Use a 1/4" drill bit to create pilot holes that match the mounting hardware supplied with the bracket. The Amazon Basics Adjustable Monitor Stand includes a detachable VESA plate and all necessary screws, eliminating the need for additional purchases. Having a level ensures that the mount is perfectly horizontal, preventing neck strain caused by a tilted screen.
Step 3: Install the Wall Mount
Begin by marking the desired height on the wall, typically eye level when standing (approximately 42‑44 inches from the floor). Use the stud finder to locate two adjacent studs and mark the drilling points according to the wall‑plate dimensions (5.9" × 1.6"). Drill pilot holes, then secure the wall plate with the supplied lag bolts. The WALI Full Motion TV Wall Mount can extend 15 inches from the wall and retract to 2 inches, providing a space‑saving profile when not in use. Its ±15° tilt, 180° swivel, and 360° rotation enable precise ergonomic positioning, allowing the user to adjust the monitor without leaving the standing desk. Once the wall plate is firmly attached, clip the monitor bracket onto the back of the screen, tighten the hex nut, and verify smooth motion across all axes.
Step 4: Set Up the Desk‑Mounted Monitor Stand
If a wall mount is not feasible due to wall material or personal preference, the Amazon Basics Adjustable Monitor Stand offers a robust alternative. Attach the detachable VESA plate to the monitor using the included screws; the plate accommodates both 75 mm and 100 mm patterns. Mount the plate onto the arm’s base, then secure the arm to the desk using the provided clamps, which fit desks 0.8‑3.9 inches thick. Adjust the height from 7.9 to 14.2 inches and rotate the arm 360° to achieve the ideal viewing angle. The stand’s tilt range of –15° to +85° mirrors the flexibility of the wall mount while keeping the monitor within arm’s reach for quick repositioning.
Step 5: Arrange Ergonomic Lighting
Proper lighting reduces eye fatigue and enhances focus, especially when standing for extended periods. Choose an LED desk lamp with an adjustable arm that can be positioned above or beside the monitor without creating glare. Mount the lamp on the desk or attach it to the same arm that holds the monitor, if the arm’s load capacity permits. Aim the light at a 30‑45° angle from the monitor surface to illuminate the workspace evenly. Use a lamp with a color temperature between 4000 K and 5000 K, which mimics natural daylight and supports alertness. Cable management clips should route power cords neatly along the arm or wall to maintain a tidy appearance.
Step 6: Fine‑Tune Monitor Position and Lighting
After installation, sit or stand at the desk and adjust the monitor so that the top of the screen is at or slightly below eye level. The viewing distance should be approximately an arm’s length away (about 20‑30 inches) to reduce strain. Verify that the tilt angle provides a comfortable line of sight without requiring the neck to tilt upward or downward. Next, adjust the lamp to eliminate reflections on the screen while ensuring the workspace is evenly lit. Test the setup at different times of day to confirm that glare does not reappear as natural light changes.
Tips & Pro Tips
- Always mount the wall bracket to wooden studs; drywall alone cannot support the monitor’s weight and may lead to failure.
- Use a 1/4" drill bit for pilot holes; smaller bits may cause the screws to strip the wall material.
- When using the WALI Full Motion TV Wall Mount, tighten the hex nut after each adjustment to maintain stability.
- Employ cable sleeves to bundle power and video cables, preserving a clean aesthetic and preventing accidental tugging.
- Consider a monitor with an anti‑glare coating if the room receives abundant natural light.
Troubleshooting
Mount feels loose after adjustment: Re‑tighten the hex nut on the wall bracket and verify that the lag bolts are fully seated in the studs.
Monitor tilts but does not stay in place: Ensure the tilt adjustment screw is fully engaged; if the screw is stripped, replace it with a compatible M4 screw.
LED lamp creates glare on the screen: Shift the lamp’s arm upward or rotate it 15° to move the light source out of the direct line of sight.
Conclusion
By assessing the workspace, selecting appropriate mounting hardware, and arranging ergonomic lighting, one can create a functional standing‑desk environment even in the smallest rooms. The WALI Full Motion TV Wall Mount and the Amazon Basics Adjustable Monitor Stand provide reliable, space‑saving solutions that accommodate a wide range of monitor sizes. Implementing the steps outlined in this guide will reduce clutter, improve posture, and enhance visual comfort, leading to a more productive workday.
Products Mentioned in This Guide
Frequently Asked Questions
What type of monitor mount is best for a small standing‑desk space?
A wall‑mount bracket or a desk‑mounted arm with a small footprint is ideal, as it frees floor space and keeps the screen at eye level.
How do I locate studs for securely installing a wall‑mount bracket?
Use a stud finder to locate the studs, then mark the center of each stud and drill pilot holes before securing the mount with lag bolts.
Can I use an LED lamp with an adjustable arm for ergonomic lighting?
Yes, an LED desk lamp with a flexible arm lets you direct light onto the keyboard while reducing glare on the monitor.
What height should my monitor be positioned on a standing desk?
The top of the screen should be at or slightly below eye level, about 20‑30 cm above your line of sight, to maintain a neutral neck posture.
How can I keep cables tidy when mounting monitors and lamps?
Run cables through a cable‑management sleeve or raceway and secure them with zip ties to prevent clutter and tripping hazards.