Introduction
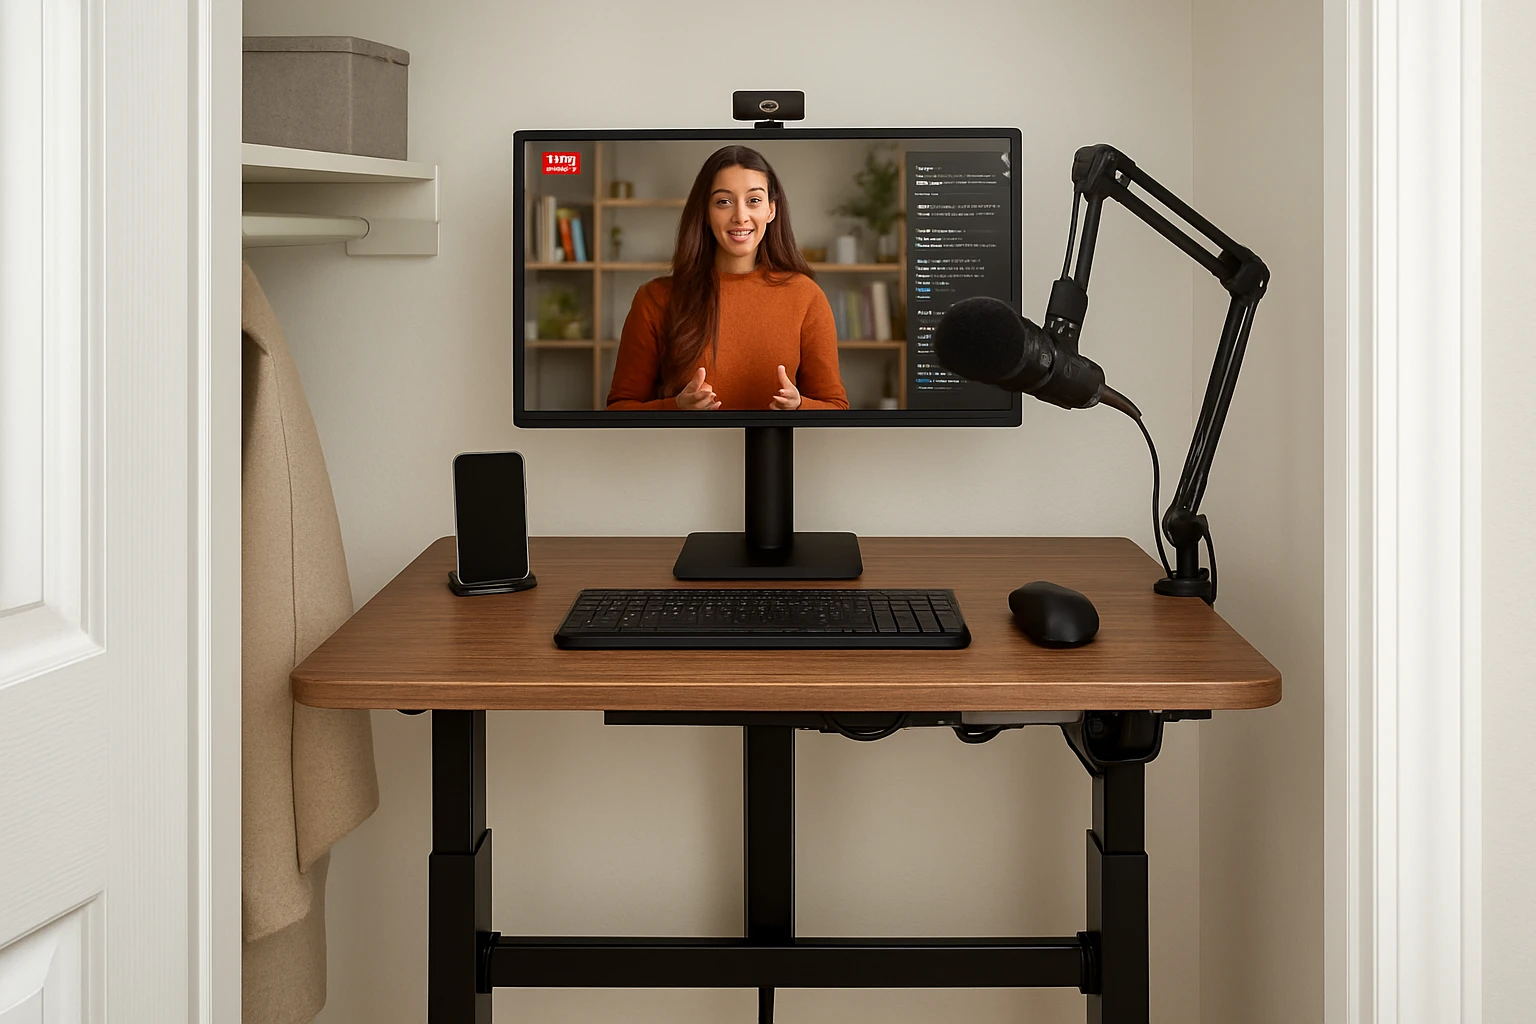
One often discovers that a cramped closet can become a high‑performance livestreaming station when the right approach is applied. This guide explains how to convert a limited space into an ergonomic, cable‑organized, and visually appealing workstation. The reader will learn how to measure, assemble, power, and fine‑tune a standing desk solution that supports multiple monitors, lighting, and audio equipment. By following each step, a streamer can improve posture, reduce background clutter, and deliver a more professional on‑camera presence.
What You’ll Need
- A SEDETA L Shaped Adjustable Standing Desk – $418.99, rating 4.4/5 (74 reviews)
- An Acrolix L Shaped Standing Desk – $189.99, rating 4.4/5 (784 reviews)
- Cable management sleeves, zip ties, and a power strip with USB ports
- Adjustable LED ring light and a webcam with a tripod mount
- Acoustic foam panels or a portable sound‑absorbing blanket
- Basic tools: screwdriver, level, and measuring tape
Step 1: Clear the Closet and Measure the Available Space
Begin by removing all stored items from the closet to create a blank canvas. Use a measuring tape to record the width, depth, and height from floor to ceiling, noting any obstructions such as vent grates or built‑in shelves. Record the dimensions in a notebook; this data will guide the selection of a desk that fits without compromising clearance for chairs or standing height. Verify that the door can open fully or consider a sliding‑door modification to preserve easy access during live sessions.
Step 2: Choose and Assemble the Appropriate Standing Desk
For closets that exceed 70 inches in width, the SEDETA L Shaped Adjustable Standing Desk provides ample surface area, built‑in storage, and a powerful LED height‑display. Its adjustable range of 30" to 47" accommodates both sitting and standing positions, while the integrated power outlet with four AC sockets and two USB ports supplies up to six devices simultaneously. The desk supports up to 176 lb, ensuring stability for dual monitors, a mixer, and a lighting rig.
If the closet width is limited to approximately 60 inches, the Acrolix L Shaped Standing Desk offers a more compact footprint without sacrificing functionality. Its reversible L‑shaped design allows placement on either side of the room, and the height range of 28.3" to 46.4" matches ergonomic recommendations for most users. The desk includes a low‑noise motor (under 45 dB) and three memory presets, which streamline transitions between sitting and standing during a broadcast.
Assemble the chosen desk according to the manufacturer’s instructions, using the supplied screwdriver and level. Ensure that the frame is square and that all bolts are tightened to the recommended torque; this prevents wobble when the motor lifts the surface. For the SEDETA model, attach the file drawer, two additional drawers, and the storage cabinet before installing the LED control panel. For the Acrolix model, connect the three splice plates, then verify that the reversible hinges lock securely.
Step 3: Install Power and Cable Management Solutions
Position the desk so that the built‑in power outlet aligns with the nearest wall outlet; this reduces the length of extension cords and maintains a tidy appearance. Connect a surge‑protected power strip to the desk’s outlet, then plug the computer, monitor, lighting, and audio interface into the strip’s AC sockets. Use the two USB ports on the desk to charge a smartphone, tablet, or streaming controller, eliminating the need for separate chargers.
Bundle all cables with Velcro zip ties and route them through a cable management sleeve that runs underneath the desk surface. Secure the sleeve to the desk frame with adhesive clips, ensuring that cables do not dangle into the viewer’s line of sight. If the closet includes a built‑in shelf, mount a short cable raceway on the back wall to conceal power cords that travel to the ceiling outlet.
Test each connection by powering on the computer and confirming that the monitors receive a signal, the lighting illuminates, and the audio interface is recognized by the streaming software. Adjust any loose cables before proceeding to the next step.
Step 4: Position Camera, Lighting, and Acoustic Treatment
Mount the webcam on a flexible tripod arm that attaches to the desk edge, allowing precise height adjustment to achieve eye‑level framing. Place an LED ring light directly behind the webcam; the ring light should be angled to avoid glare on the monitor while providing even illumination on the streamer’s face. If additional key lighting is required, position a soft‑box or panel light on the opposite side of the desk, diffusing light through a translucent panel to reduce harsh shadows.
Apply acoustic foam panels to the interior walls of the closet, covering at least 30% of the surface area to dampen reverberation. For budget‑friendly alternatives, hang a portable sound‑absorbing blanket behind the desk and over the door when recording. Verify that the microphone captures clear audio without echo by performing a short test recording and listening for unwanted reflections.
Adjust the monitor placement so that the top of the screen sits at or slightly below eye level when standing; this reduces neck strain and maintains a natural gaze toward the camera. Use the desk’s height presets to switch between sitting and standing positions while preserving the optimal monitor height.
Step 5: Optimize Ergonomics and Conduct a Full Stream Test
Configure the chair (if used) to support a 90‑degree knee angle and ensure that the feet rest flat on the floor. When standing, distribute weight evenly between both feet and consider using an anti‑fatigue mat to reduce foot fatigue during long broadcasts. Verify that the keyboard and mouse are positioned within comfortable reach, with elbows close to the body and wrists in a neutral posture.
Launch the streaming software, select the appropriate audio and video sources, and enable the desk’s three height presets for quick transitions. Perform a full‑duration rehearsal, monitoring frame rates, audio levels, and lighting consistency. Make note of any adjustments required, such as repositioning a cable that interferes with a camera pan or tightening a desk leg that may have settled under load.
After confirming that all components function smoothly, save the configuration settings within the streaming software and document the desk height values for future reference. This preparation ensures that each live session begins with a professional appearance and minimal technical interruptions.
Tips & Pro Tips
- Use a wireless keyboard and mouse to reduce cable clutter on the desk surface.
- Install a small fan or portable air purifier inside the closet to maintain airflow and prevent overheating of electronics.
- Label each power strip outlet with a label maker; this simplifies troubleshooting during live broadcasts.
- Consider a fold‑down monitor arm for the SEDETA desk; it frees up desk space for additional accessories.
- When using the Acrolix desk, engage the memory presets before each stream to ensure consistent height settings.
Troubleshooting
Problem: The desk motor makes a grinding noise when raising.
Solution: Verify that the load does not exceed 176 lb and that the desk is level. Tighten any loose bolts and ensure that the power outlet is delivering stable voltage.
Problem: Camera view includes unwanted background clutter.
Solution: Adjust the webcam angle, add a backdrop fabric, or reposition acoustic panels to create a cleaner visual field.
Conclusion
One now possesses a complete, step‑by‑step methodology for converting a modest closet into a fully functional livestreaming standing desk station. By measuring accurately, selecting the appropriate desk—either the spacious SEDETA model or the compact Acrolix alternative—and implementing organized power, cable, and acoustic solutions, a streamer can achieve professional ergonomics and visual quality. The final test run confirms readiness for live audiences, and the documented settings ensure repeatable success for future broadcasts.
Products Mentioned in This Guide
Frequently Asked Questions
How do I measure a closet to fit a L‑shaped standing desk?
Measure the width, depth, and height of the usable floor space, leaving at least 2‑3 inches of clearance on each side for ventilation and movement.
What cable‑management tools work best in a tight closet studio?
Use cable sleeves, zip ties, and a wall‑mounted power strip with USB ports to bundle and route cords neatly along the desk frame.
Can I use a standing desk for multiple monitors in a small closet?
Yes; an L‑shaped desk provides two work surfaces, allowing two 24‑inch monitors side‑by‑side while keeping the desk footprint compact.
What lighting setup is recommended for a closet livestream?
Mount an adjustable LED ring light on the desk or ceiling and position it at 45° angle to reduce shadows and provide even illumination.
How can I improve acoustics in a closet streaming space?
Attach acoustic foam panels or a portable sound‑absorbing blanket to the walls and ceiling to dampen echo and background noise.