How to Set Up Hot‑Desking Standing Desks in a Small Office: Space‑Saving Layouts, Ergonomics & Scheduling Tips
Introduction
In modern workplaces, hot‑desking combined with sit‑stand workstations improves collaboration, reduces real‑estate costs, and supports employee wellbeing. This guide explains how to evaluate a compact office, select appropriate standing desks, arrange a flexible layout, configure ergonomic settings, and implement a scheduling system that maximizes desk utilization. By following the instructions, one will create a functional environment that encourages movement while preserving productivity.
The reader will learn to measure available space, choose a desk that fits the footprint, manage power and cable routing, and set up memory presets for quick height changes. Each step includes product recommendations that act as tools rather than the sole solution, ensuring the guide remains valuable even without a purchase.
What You Will Need
- Measuring tape or laser distance meter
- Floor‑plan sketch or digital layout software
- Power strip with surge protection
- Cable management clips or sleeves (optional)
- One or more standing desks (see product recommendations below)
- Ergonomic accessories such as monitor arms, keyboard trays, and anti‑fatigue mats (optional)
All recommended desks are available on Amazon and include built‑in features that reduce the need for additional accessories.
Step 1: Assess Space and Create a Scalable Layout
Begin by measuring the length, width, and height of the office floor. Record the locations of doors, windows, and fixed utilities. Use a simple grid on paper or a digital tool to plot possible desk positions, leaving at least 3 feet of clearance for movement and wheelchair access where required.
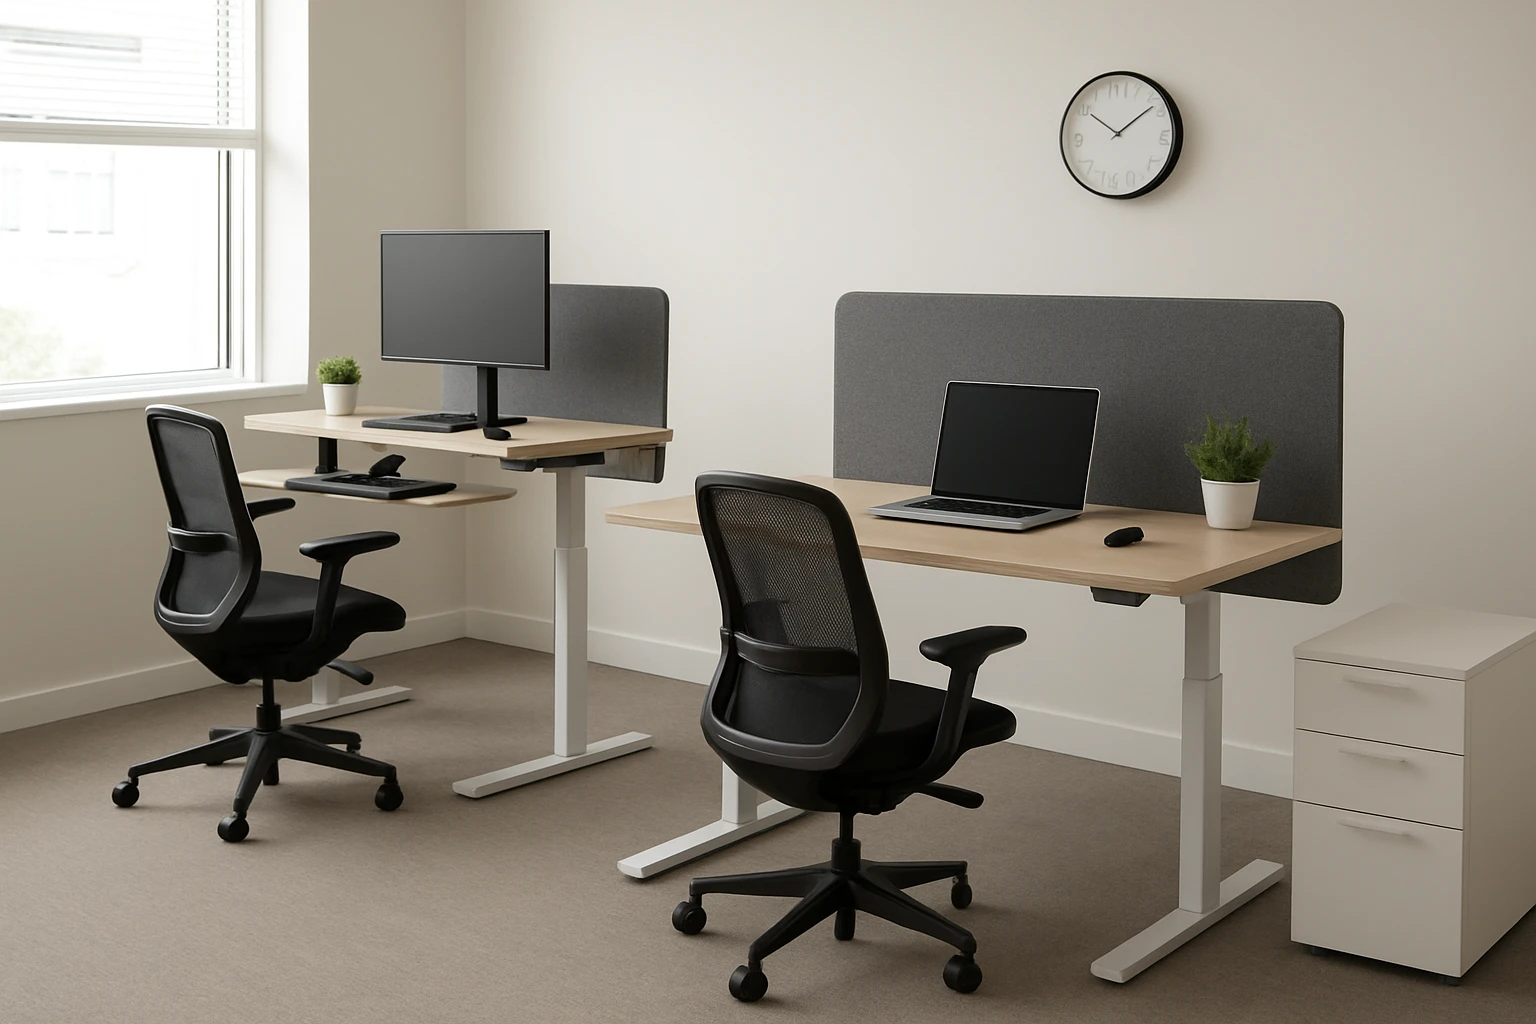
Identify high‑traffic zones such as printer areas and meeting corners. Position standing desks away from these zones to minimise accidental collisions when the desks are raised. Consider a “U‑shaped” configuration for a room of 150 square feet, placing desks along two walls and a central island for collaborative tasks.
When planning, note the power outlet locations. Desks with built‑in USB ports, such as the FlexiSpot Electric Standing Desk 55", reduce the need for external power strips and simplify cable routing.
Step 2: Choose the Appropriate Standing Desk for Each Zone
Evaluate the required surface area, weight capacity, and adjustability range for each workstation. For a shared desk that must accommodate dual monitors and occasional paperwork, the 55‑inch model provides a spacious one‑piece desktop (55" x 28") and a weight capacity of 154 lb. Its electric height adjustment moves smoothly between 28.7" and 48" and includes four programmable presets, which is ideal for quick transitions between users.
For smaller workstations or budget‑conscious teams, the Veken Electric Standing Desk 63" offers a two‑piece wooden top, a height range of 28.3" to 46.5", and a memory preset function. The desk’s cable‑clip design keeps cords tidy, and its price of $179.99 makes it attractive for multiple deployments.
When a premium, environmentally friendly surface is desired, the VIVO Bamboo Standing Desk 60" supplies a solid bamboo top, a robust steel frame supporting up to 220 lb, and quiet motorized height adjustment. Its four memory buttons enable each user to store personal preferences, which is valuable in a hot‑desking scenario.
Each desk’s rating reflects strong customer satisfaction: FlexiSpot 4/5 (160 reviews), Veken 4.7/5 (1,349 reviews), and VIVO 4.4/5 (6,009 reviews). Selecting a mix of these models balances cost, durability, and aesthetic preferences.
Step 3: Prepare Power, Data, and Cable Management
Install a surge‑protected power strip at each desk location. Desks with built‑in USB ports, such as the FlexiSpot model, allow direct charging of smartphones and tablets without external adapters. However, the USB ports pause charging while the motor moves; therefore, schedule height changes when devices are not actively charging.
Run Ethernet or HDMI cables through cable‑clip channels on the Veken desk to keep the workspace uncluttered. For the VIVO desk, use the supplied cord holders to route power cords under the tabletop. Ensure that all cables have sufficient slack at the desk’s maximum height to avoid strain on connectors.
Label each cable with a simple tag to simplify troubleshooting and to aid users who rotate desks throughout the day. This practice reduces the risk of accidental disconnections during height adjustments.
Step 4: Assemble and Position the Desks
Follow the manufacturer’s assembly instructions, which include pre‑drilled holes and clearly labeled components. The FlexiSpot desk can be assembled in approximately one hour thanks to its quick‑assembly crossbar system. The Veken desk requires about 30 minutes, and the VIVO desk may take up to two hours due to its heavier frame.
Place each desk on a level surface. Use a spirit level to verify that the tabletop is horizontal at the lowest height setting. Adjust the foot levelers if the floor is uneven. Secure the desks to the wall with the provided brackets only if the office policy permits permanent installations.
After assembly, test the electric lift function by raising and lowering the desk several times. Verify that the memory presets store correctly and that the child‑lock button prevents unintended movement when the desk is unattended.
Step 5: Configure Ergonomic Settings for Each User
Measure the user’s elbow height while seated and standing. Set the desk height so that the forearms rest parallel to the floor when typing. Use the programmable presets to store the seated and standing heights for each employee. The FlexiSpot desk allows four presets, which is sufficient for a small team.
Adjust monitor height so that the top of the screen is at or slightly below eye level. If a monitor arm is not available, raise the desk until the monitor meets the ergonomic guideline. Ensure that the keyboard and mouse are positioned at a distance that keeps the wrists in a neutral posture.
Encourage the use of an anti‑fatigue mat when standing for prolonged periods. Although not included in the product list, such a mat complements the ergonomic benefits of the standing desk and reduces foot discomfort.
Step 6: Implement a Hot‑Desking Scheduling System
Adopt a cloud‑based reservation platform that allows employees to book a desk for a specific time block. Include fields for the user’s preferred height preset, which can be automatically applied if the desk supports integration with the scheduling software (some advanced models offer API access).
Establish clear policies for desk turnover, such as wiping surfaces with disinfectant wipes and returning cables to their designated holders. Provide a short checklist on the desk surface to remind users to log out of shared peripherals and to reset the height to the default “neutral” position.
Monitor desk utilization metrics weekly. If a desk remains unused for more than 30 % of available time, consider repurposing it for a collaborative breakout area or adding a second monitor to increase its appeal.
Tips & Pro Tips
- Place a small whiteboard near the desk cluster to note daily priorities and to reduce reliance on personal devices for quick reminders.
- Use a low‑noise floor mat under the VIVO desk to further dampen motor sounds, especially in open‑plan offices.
- When multiple users share a desk, label the memory preset buttons with each user’s initials to avoid confusion.
- Schedule regular maintenance checks to tighten bolts and verify that the lift mechanisms remain lubricated.
- Consider adding a portable privacy screen for confidential work, which can be stored in the desk’s built‑in drawer (FlexiSpot) when not in use.
Troubleshooting
Desk does not raise or lower smoothly: Verify that the power cable is securely connected and that the USB ports are not engaged in a charging cycle, which can pause motor operation. Check for any obstruction in the lift column and tighten any loose bolts.
Wobble at maximum height: Ensure that the floor levelers are evenly adjusted. For the VIVO desk, confirm that the steel frame legs are fully seated in their sockets and that the weight of the monitor does not exceed the recommended limit.
Memory presets do not save: Reset the desk to its factory settings by holding the preset button for ten seconds, then re‑program the heights. If the issue persists, contact the manufacturer’s support line using the contact information on the product page.
Conclusion
Setting up hot‑desking standing desks in a small office requires careful space planning, thoughtful product selection, and systematic ergonomic configuration. By measuring the workspace, choosing desks that match the required footprint and features, managing power and cables, and establishing a clear reservation system, one can create a dynamic environment that promotes movement, collaboration, and productivity. The recommended desks—FlexiSpot, Veken, and VIVO—provide reliable height adjustment, ample surface area, and built‑in conveniences that streamline the hot‑desking workflow.
Implement the steps outlined in this guide, monitor usage, and adjust the layout as the team evolves. The result will be a flexible, health‑focused office that maximizes limited square footage while supporting employee satisfaction.
Products Mentioned in This Guide
Frequently Asked Questions
What is the best way to measure a small office for hot‑desking standing desks?
Use a measuring tape or laser distance meter to record length, width, and ceiling height, then sketch a floor plan or use layout software to visualize desk footprints.
How can I choose a standing desk that fits a limited footprint?
Select desks with a compact base, adjustable height range, and a surface area no larger than 48‑inches wide to ensure they fit between existing workstations.
What ergonomic settings should I configure on shared sit‑stand desks?
Set the desk height so elbows are at 90° when typing, keep the monitor at eye level, and use keyboard trays or monitor arms to maintain neutral posture.
How do I manage power and cables for multiple hot‑desking stations?
Install a centrally located power strip with surge protection and use cable management clips or raceways to keep cords tidy and prevent tripping hazards.
What scheduling system helps maximize desk utilization?
Implement a cloud‑based reservation app that lets employees book desks in 30‑minute blocks, with automatic release of unused slots to keep occupancy high.