Introduction
One will discover how to transform a modest standing‑desk area into a versatile lighting studio suitable for product photography, video calls, and live streaming. The guide explains the principles of light placement, diffusion, and color balance while recommending tools that maximise quality without excessive expense. Readers will understand why controlled illumination improves image fidelity, reduces shadows, and creates a professional appearance. Mastering these techniques enables one to produce compelling visual content from a limited footprint.
What You’ll Need
The essential equipment includes a portable LED panel, an adjustable desk lamp, a stable tripod or mini‑stand, a set of color‑correction gels, and basic mounting accessories such as clamps or adhesive pads. Optional items comprise a soft‑box diffuser, a light meter, and cable management clips to maintain a tidy workspace. All recommended products are available through Amazon links provided below.
Step 1: Assess the Room Layout
One should begin by measuring the dimensions of the room and noting any windows, reflective surfaces, or obstructions that could affect light quality. Identify the primary work surface and ensure sufficient clearance for a standing desk height of approximately 110 cm. Sketch a simple floor plan indicating the intended positions of the desk, primary light source, and secondary fill light. This preliminary assessment prevents later adjustments that could disrupt workflow or compromise lighting consistency.
Step 2: Arrange the Desk for Optimal Ergonomics
Place the standing desk so that it faces away from direct sunlight to avoid harsh glare and color shifts during midday hours. Maintain a distance of at least 60 cm between the desk surface and the nearest wall to allow light to spread evenly. Adjust the monitor height to eye level, which reduces neck strain and ensures that the lighting angles illuminate the subject rather than the screen. A well‑positioned desk forms the foundation for reliable lighting control.
Step 3: Install the Primary Light Source
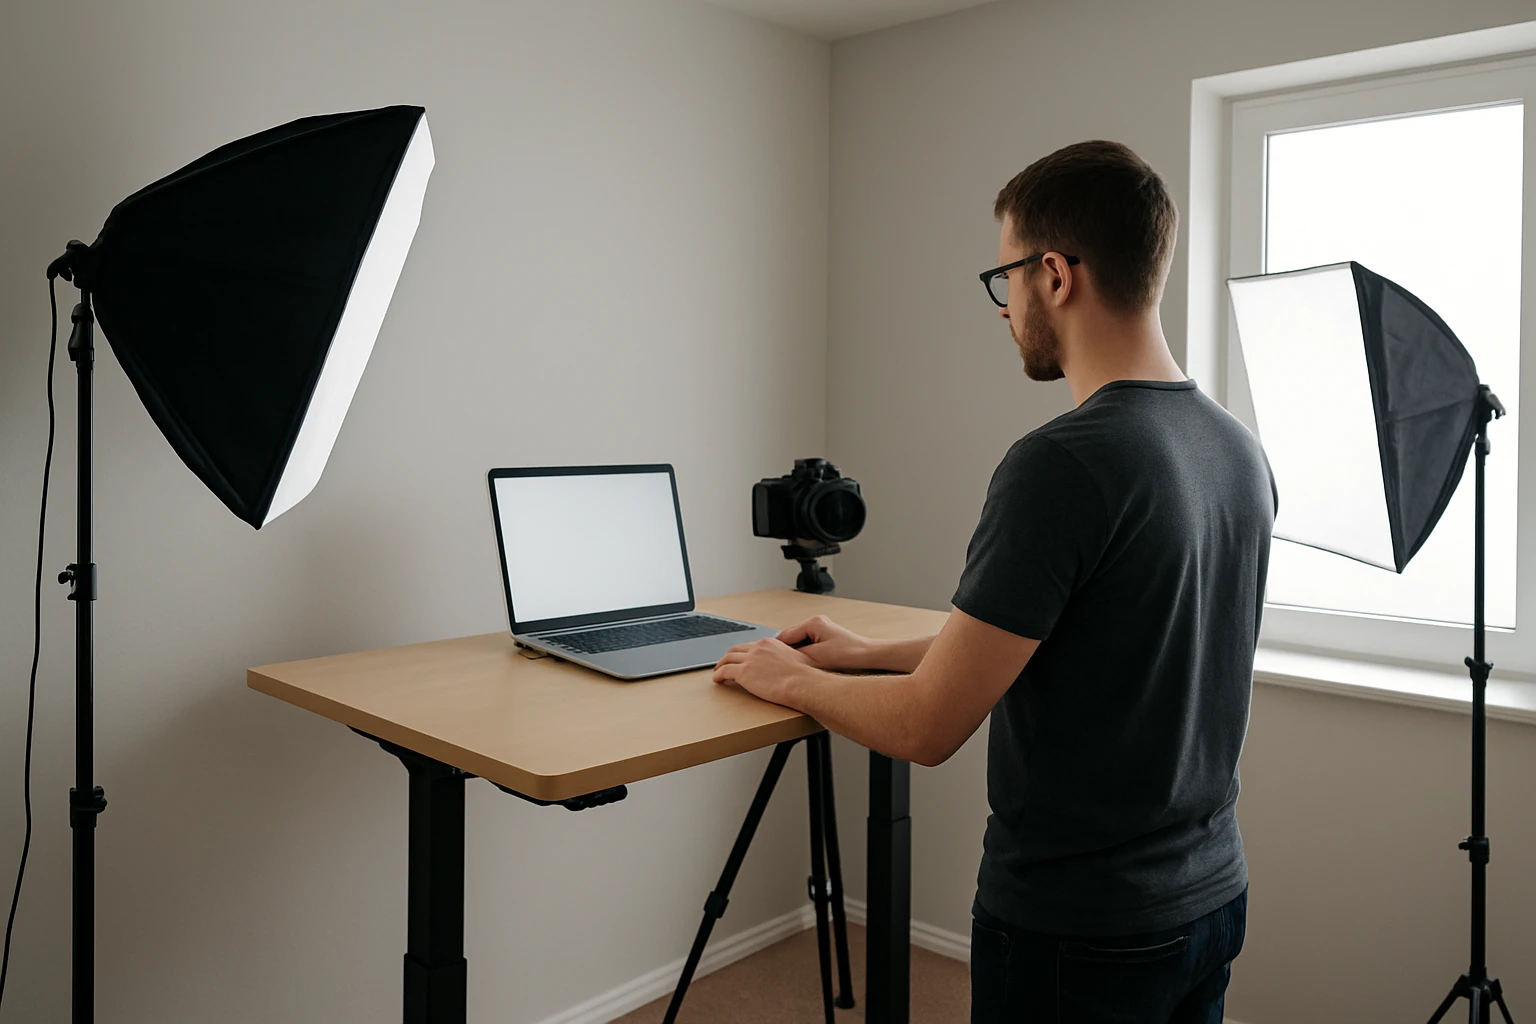
The primary light should be positioned at a 45‑degree angle to the subject to create dimensional shading without excessive contrast. The EMART LED Photography Lighting Kit is ideally suited for this purpose because it delivers 1400 lumens of daylight‑balanced 5500 K illumination from 60 high‑CRI LEDs. Priced at $29.99 with a rating of 4.4 out of 5 stars, the kit includes a mini‑tripod that reaches a maximum height of 11 inches, allowing precise angle adjustment.
One should connect the kit to the included AC/DC adapter rather than relying on USB power, ensuring continuous output without battery depletion during extended shoots. The kit’s interchangeable color filters enable subtle hue shifts, but for most product photography a neutral white filter provides the most accurate color rendering. Secure the panel on the mini‑tripod, tilt it slightly upward, and verify that the light falls evenly across the subject.
Step 4: Add a Fill Light for Balanced Shadows
To soften shadows created by the primary source, a secondary fill light positioned on the opposite side of the subject is recommended. The same EMART LED Photography Lighting Kit can be duplicated or a single unit can be rotated to serve as a fill, thanks to its portable design and adjustable angle. Using the kit’s color filters, one can select a soft white gel to diffuse light gently, reducing contrast while preserving detail.
Place the fill light at a lower intensity than the primary source, typically at 30‑40 percent of the main light’s output. Adjust the mini‑tripod height to align the fill light with the subject’s mid‑section, ensuring that the illumination fills in shadows without flattening the three‑dimensional appearance. This balanced lighting arrangement is essential for clear product images and flattering video portraits.
Step 5: Integrate an Ambient Desk Lamp for Eye Comfort
While the LED panels provide directional illumination, a steady ambient source reduces eye strain during prolonged editing sessions. The LitONES LED Desk Lamp offers advanced eye‑care technology, including anti‑glare diffusion and 10 brightness levels across five color‑temperature settings. Priced at $68.98 with a rating of 4.8 out of 5 stars, this lamp clamps securely to the desk, preserving valuable workspace.
One can set the lamp to a neutral 4000 K daylight mode while editing photos to maintain color consistency with the primary lighting. The memory function remembers the last setting, allowing quick restoration after interruptions. By positioning the lamp opposite the primary panel, one creates a gentle fill that eases visual fatigue without interfering with the main lighting scheme.
Step 6: Fine‑Tune Color Temperature and Brightness
Accurate color temperature is vital for true‑to‑life product representation. Use a calibrated monitor or a color‑checking app to compare the captured image against a known reference. Adjust the EMART panel’s brightness using its stepless dimmer until the subject is evenly lit without clipping highlights. Simultaneously, modify the LitONES lamp’s temperature to match the panel’s 5500 K daylight output, achieving a harmonious overall spectrum.
Step 7: Test the Setup with Sample Shots
Before commencing a full shoot, capture several test images of a neutral object such as a white card or a gray sphere. Examine the images for hot spots, color casts, or unwanted reflections. If shadows appear too harsh, increase the fill light’s intensity or add a diffusion material such as a thin white sheet. If the background appears overexposed, lower the primary panel’s output or reposition it slightly farther from the subject.
Tips & Pro Tips
One should keep cables organized using zip ties or cable clips to prevent tripping hazards and maintain a tidy appearance on camera. For additional diffusion, place a translucent parchment paper between the EMART panel and the subject; this reduces harsh edges while preserving brightness. When recording video calls, angle the primary light slightly higher than eye level to create a flattering catch‑light in the eyes. Finally, store the color gels in a labelled envelope to expedite future lighting adjustments.
Troubleshooting
If the EMART panel flickers, verify that the AC/DC adapter is securely connected and that the power outlet provides a stable voltage. Should the LitONES lamp emit a buzzing sound, ensure the knob‑style remote is not stuck and that the touch controls are clean. In cases where shadows persist despite a fill light, consider adding a larger diffuser or repositioning the subject farther from the background to increase separation.
Conclusion
One now possesses a systematic approach to configuring professional‑grade lighting at a standing desk within a confined space. By assessing the room, arranging ergonomic furniture, deploying the EMART LED Photography Lighting Kit as primary and fill sources, and incorporating the LitONES LED Desk Lamp for ambient comfort, any creator can produce high‑quality images and video streams. Consistent practice and incremental adjustments will further refine the setup, enabling one to adapt to diverse subjects and shooting conditions.
Products Mentioned in This Guide
Frequently Asked Questions
What is the most effective lighting arrangement for a standing desk in a small room?
Use a portable LED panel as a key light at a 45-degree angle, complemented by an adjustable desk lamp as a fill light, both positioned above and slightly in front of the subject.
How can I minimize harsh shadows when shooting product photos at my desk?
Add a soft‑box diffuser or a white sheet to the LED panel and position a fill light or bounce surface opposite the main light to soften shadows.
Which low‑cost items are essential for creating a DIY photography lighting studio?
A portable LED panel, an adjustable desk lamp, a stable tripod or mini‑stand, and basic mounting accessories like clamps or adhesive pads.
What role do color‑correction gels play in desk lighting?
Gels adjust the light’s color temperature, helping you match ambient lighting or achieve a consistent white balance for more accurate colors.
How can I keep cables organized while using multiple lights on a standing desk?
Use cable‑management clips or Velcro ties to route cords neatly along the desk legs and behind the monitor, keeping the workspace tidy and safe.