How to Optimize Wi‑Fi for a Cable‑Free Standing Desk in a Small Office: Step‑by‑Step Tips to Boost Coverage, Speed & Reliability
This guide explains how to create a robust wireless network for a cable‑free standing desk in a compact office environment. Readers will learn how to assess signal strength, place networking hardware, adjust router settings, and verify performance. The instructions are practical, actionable, and supported by product recommendations that act as tools rather than the sole solution. By following the steps, one can achieve consistent high‑speed connectivity without the clutter of Ethernet cables.
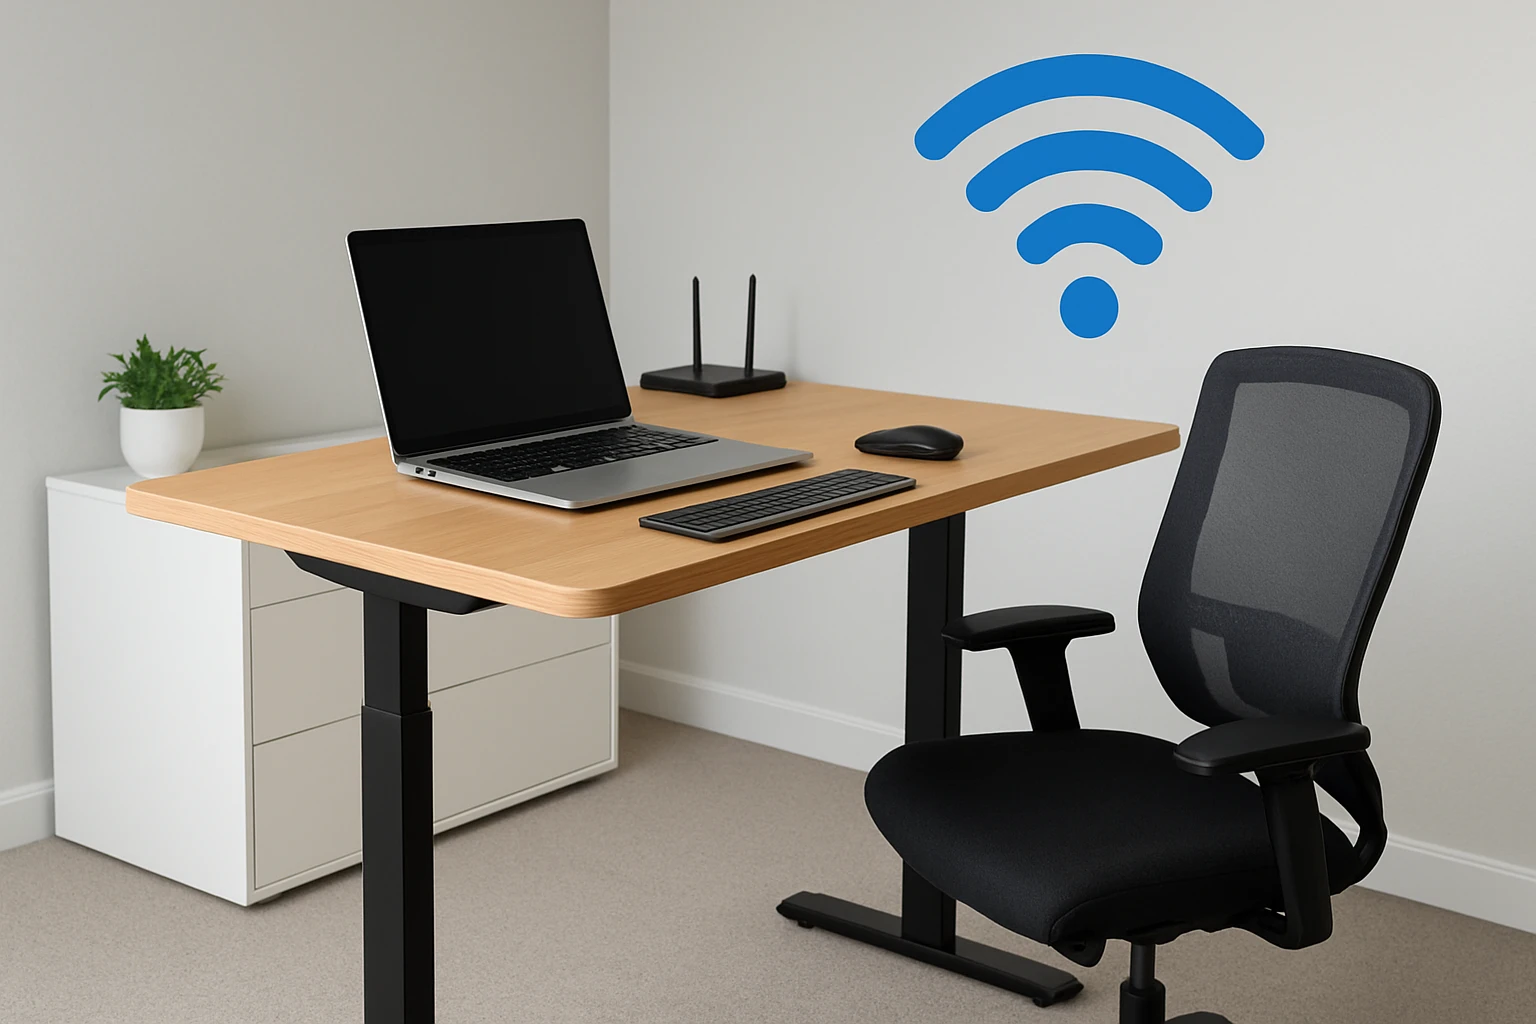
What You'll Need
- A dual‑band router or mesh system (e.g., TP-Link Archer A8 or eero 6 Mesh WiFi System).
- Optional Wi‑Fi extender such as TP-Link RE550 or Nonser Dual Band Extender.
- Smartphone or laptop with a Wi‑Fi analyzer app.
- Basic tools: screwdriver, cable ties (if a short Ethernet run is desired).
- Power outlets near the desk and router locations.
Step 1: Assess Desk Location and Signal Baseline
Begin by measuring the current Wi‑Fi signal strength where the standing desk will be used. Use a Wi‑Fi analyzer app to record the RSSI (Received Signal Strength Indicator) on both 2.4 GHz and 5 GHz bands. Note any sources of interference such as metal filing cabinets, fluorescent lighting, or nearby cordless phones. This baseline will guide placement decisions and help quantify improvement after each step.
Step 2: Choose an Optimal Router Placement
Position the primary router in a central, elevated location to maximize line‑of‑sight coverage. Avoid placing the router inside a closed cabinet or directly on the floor. For a small office, a height of approximately 1.2 meters from the floor is ideal. The TP-Link Archer A8 is a cost‑effective dual‑band router that offers up to 1300 Mbps on the 5 GHz band and 600 Mbps on the 2.4 GHz band. Its four Gigabit LAN ports provide reliable wired connections for a desktop PC or network switch if a hybrid wired‑wireless setup is desired. At a price of $49.98 and a rating of 4.5/5 from 13,796 reviews, it balances performance and affordability. Beamforming technology focuses the signal toward connected devices, which is beneficial for a standing desk that may move within a 2‑meter radius.
Step 3: Create a Short Wired Backbone (If Feasible)
Running a short Ethernet cable from the router to a network switch near the desk can offload bandwidth‑intensive tasks such as video conferencing. Even a single 1 Gbps Ethernet run will eliminate latency caused by wireless contention. If the office layout permits, use a low‑profile cable management clip to keep the cable tidy. The Archer A8’s Gigabit WAN port ensures that the wired link does not become a bottleneck. When a wired connection is not possible, proceed to the next step to extend the wireless signal.
Step 4: Deploy a Mesh Node or Wi‑Fi Extender
For areas where the router signal is weak, a mesh node or extender can fill the gap. The eero 6 Mesh WiFi System (3‑pack) provides whole‑home Wi‑Fi 6 coverage up to 4,500 sq ft. Each unit supports speeds up to 500 Mbps, which is sufficient for most office applications. The system includes a subscription‑free security suite (eero Plus) that protects against online threats and offers parental controls, adding a layer of protection for shared office devices. Priced at $19.99 with a rating of 4.4/5 from 28,351 reviews, it is an economical solution for expanding coverage.
If a mesh system is unnecessary, a dedicated extender such as the TP-Link RE550 can be placed halfway between the router and the desk. It delivers up to 1300 Mbps on 5 GHz and includes a Gigabit Ethernet port for a fallback wired connection. The RE550 is EasyMesh‑compatible, allowing seamless integration with the Archer A8 router. At $44.80 and a rating of 4.3/5 from 19,850 reviews, it provides a reliable boost without the complexity of a full mesh network.
For budget‑conscious users, the Nonser Dual Band Extender offers 1200 Mbps throughput and coverage up to 10,000 sq ft. Its three work modes (repeater, AP, and Ethernet) give flexibility for various office layouts. Priced at $28.98 with a rating of 4.3/5 from 916 reviews, it is a viable alternative when cost is a primary concern.
Step 5: Optimize Router and Extender Settings
Log into the router’s web interface or companion app and enable the following settings: (1) MU‑MIMO to allow simultaneous data streams for multiple devices, (2) Smart Connect to let the router automatically assign devices to the optimal band, and (3) Beamforming to concentrate the signal toward the standing desk area. Disable legacy protocols such as WEP and enable WPA3 if supported; otherwise, use WPA2‑AES. For the eero system, activate the “Automatic Updates” feature so that security patches are applied without manual intervention. Adjust the channel selection to avoid neighboring networks; channels 36, 40, and 44 on the 5 GHz band are often less congested in office environments.
Step 6: Verify Performance and Fine‑Tune Placement
After configuring the network, perform a speed test at the desk using a reliable testing site. Record both download and upload speeds on the 5 GHz band. Compare these results with the baseline measured in Step 1. If speeds are still below expectations, relocate the router or extender by 0.5 meter increments and retest. Ensure that the desk’s metal frame does not act as a shield; positioning the device a few centimeters away from the frame can improve signal penetration.
Tips & Pro Tips
- Use a Wi‑Fi analyzer to identify the least congested channel before finalizing router settings.
- Keep firmware up to date; manufacturers frequently release performance enhancements.
- When using an extender, place it in a location where it still receives at least 70 % of the router’s signal strength.
- Enable Quality of Service (QoS) to prioritize video‑conference traffic over background downloads.
- Consider a small desktop antenna upgrade if the standing desk computer has a weak internal Wi‑Fi module.
Troubleshooting
Problem: Intermittent drops on the 5 GHz band.
Solution: Verify that the router and extender are not set to the same channel. Switch one device to a different non‑overlapping channel and retest.
Problem: Low speeds despite strong signal indicator.
Solution: Check for bandwidth‑limiting settings such as “Guest Network” throttling. Disable any traffic‑shaping features that limit device throughput.
Problem: Dead zones persist after adding an extender.
Solution: Use a mesh node instead of a simple repeater, as mesh systems maintain a single SSID and perform intelligent handoff.
Conclusion
Optimizing Wi‑Fi for a cable‑free standing desk in a small office involves careful assessment, strategic hardware placement, and fine‑tuned settings. By following the six steps, one can achieve reliable high‑speed connectivity that supports video calls, cloud applications, and wireless peripherals. The recommended products—TP‑Link Archer A8, eero 6 Mesh WiFi System, TP‑Link RE550, and Nonser Extender—serve as effective tools to address common coverage challenges while remaining affordable. Implement the tips and troubleshooting advice to maintain a robust network as office needs evolve.
Products Mentioned in This Guide
Frequently Asked Questions
What router features are best for a cable‑free standing desk in a small office?
Choose a dual‑band or tri‑band router with 2.4 GHz for range and 5 GHz for speed, and consider a mesh system for seamless coverage.
How should I position my router or mesh nodes for optimal desk coverage?
Place the router or primary mesh node on a raised, central surface away from metal objects, and locate secondary nodes at roughly equal distance between the router and the desk.
Do I need a Wi‑Fi extender for a standing desk, and when is it recommended?
An extender is useful only if the desk is beyond the router’s effective range or blocked by walls; otherwise a well‑placed router or mesh node usually suffices.
Which router settings can improve speed and reliability at my desk?
Enable the 5 GHz band, set the channel to auto or a low‑interference channel, turn on QoS for work devices, and update firmware regularly.
How can I quickly test Wi‑Fi performance at my standing desk?
Use a laptop or phone to run a speed test and check signal strength (RSSI) in the 70‑80% range; repeat after any hardware move to confirm improvement.