How to Reduce Screen Glare at Your Standing Desk Using Smart Blinds
Introduction
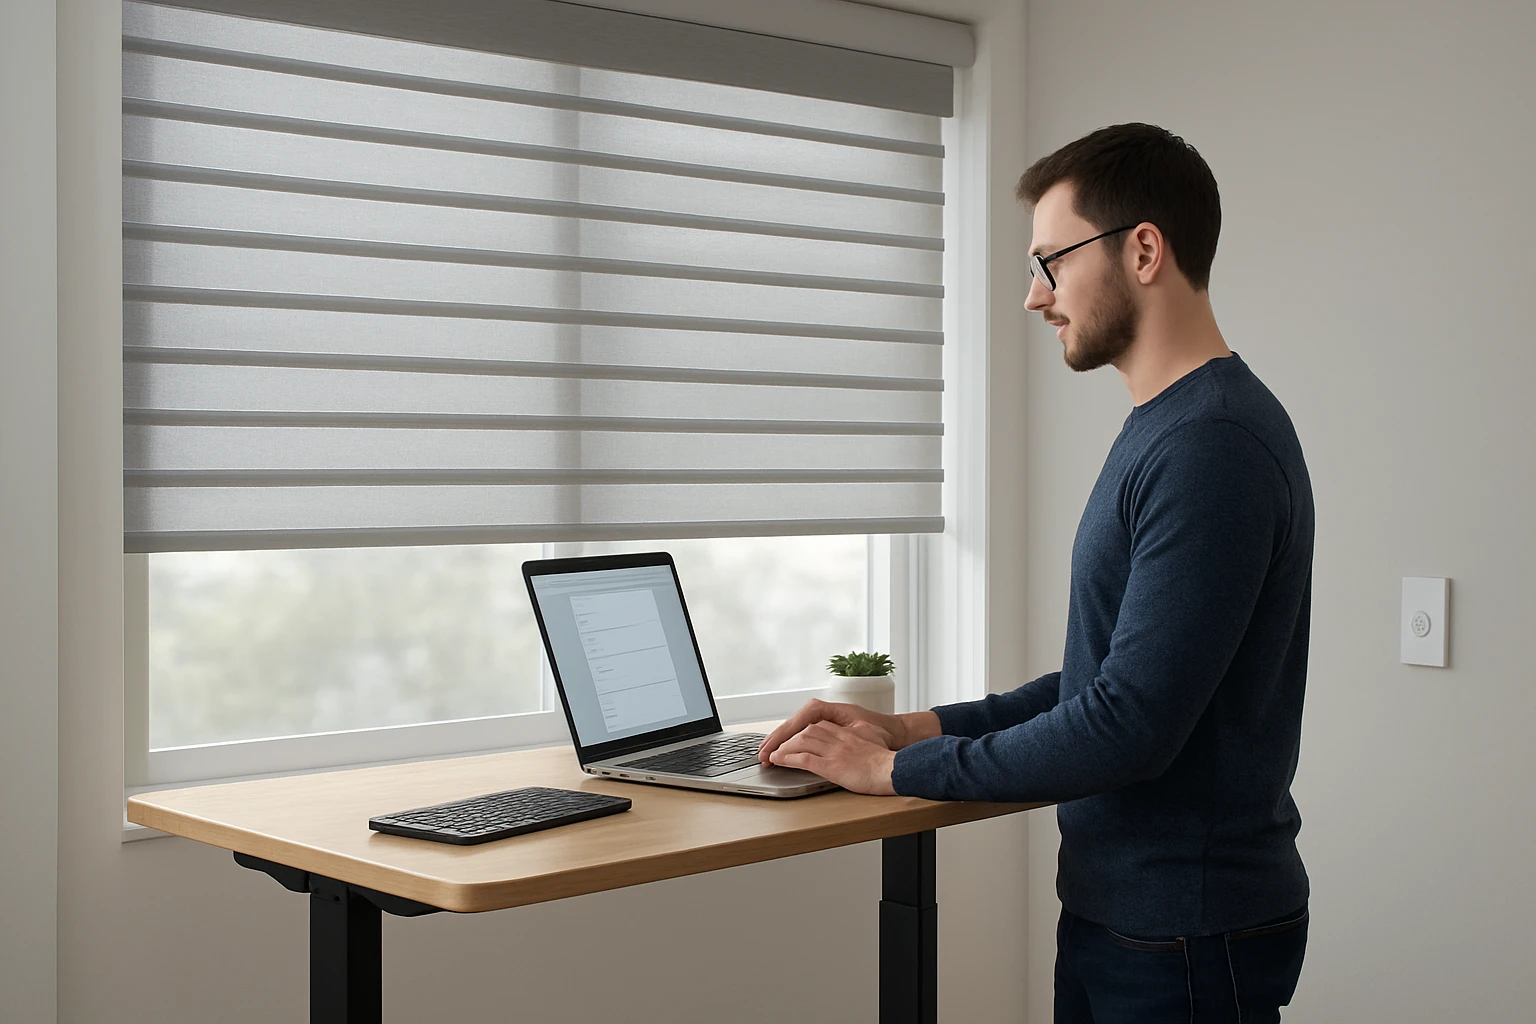
Working at a standing desk often provides ergonomic benefits, yet excessive screen glare can cause eye strain, reduced productivity, and fatigue. This guide explains how to assess glare, select appropriate smart blinds, install the hardware, and configure automation so that natural light is optimally managed throughout the day. By following the outlined steps, one can create a comfortable visual environment without sacrificing the aesthetic appeal of the workspace.
The reader will learn how to measure glare, why motorised blinds are advantageous, and how to integrate the blinds with popular voice assistants. The information is valuable for professionals who spend many hours in front of a monitor and desire a sustainable, technology‑driven solution.
What You'll Need
- Measuring tape or laser distance meter
- Screwdriver set (Phillips and flat‑head)
- Power drill (optional for faster installation)
- Smart blind kit – either RYSE SmartShade with battery pack or AOSKY Cordless Roller Shades
- SmartBridge (required for RYSE SmartShade to enable voice control)
- Smartphone or tablet with the respective mobile app installed
- Optional: wall mounting brackets if the window frame does not provide a built‑in ledge
Step 1: Assess Existing Glare
Begin by observing the workstation at three distinct times: morning, midday, and late afternoon. Use a handheld lux meter or a smartphone app that measures brightness to record the intensity of light falling on the screen. Note the direction of the sun, the presence of reflective surfaces, and any glare hotspots.
Document the measurements in a simple table. If the lux level exceeds 300 cd/m² on the screen, glare is likely to impair visual comfort. This data will inform the selection of blind type, opacity, and automation schedule.
Step 2: Select Appropriate Smart Blinds
Based on the assessment, choose a blind solution that can modulate light without requiring manual adjustment. The RYSE SmartShade is ideal for existing window shades because it attaches to the beaded chain and motorises the shade. It costs $199.98, carries a rating of 4.0 out of 5 stars from 45 reviews, and includes a wireless battery pack that eliminates the need for hard‑wired power.
The advantage of RYSE SmartShade lies in its environmentally‑conscious design; it upgrades current shades, reducing textile waste, and integrates with Google Home, Amazon Alexa, and Apple HomeKit via the required SmartBridge. This enables voice‑activated commands such as “lower the blinds” during peak glare periods.
For users who prefer a new roller shade with built‑in light‑filtering fabric, the AOSKY Cordless Roller Shades provide a cost‑effective alternative at $29.99, rated 4.6 out of 5 stars from 397 reviews. Their 150 % polyester fabric offers UV protection and a 5 % openness solar screen, which reduces glare while preserving a pleasant daylight ambience.
When deciding between the two, consider whether the existing shades are aesthetically suitable. If they are, RYSE SmartShade preserves the current décor while adding automation. If a fresh look is desired, AOSKY offers a modern, sleek roller design that can be installed directly onto the window frame.
Step 3: Install the SmartShade System
Follow these sub‑steps to install the chosen blind:
- Measure the window dimensions. Verify that the blind width matches the window opening within a tolerance of ±0.5 inches. For RYSE SmartShade, ensure the existing shade’s beaded chain can accommodate the motor unit.
- Prepare the mounting surface. Clean the area where the brackets will attach. Use a level to guarantee horizontal alignment, which prevents uneven lift.
- Attach the motor unit. For RYSE SmartShade, slide the motor onto the beaded chain and secure it with the provided clamps. The battery pack should be positioned where it does not interfere with the shade’s travel path.
- Mount the roller shade. If using AOSKY, insert the aluminum brackets into the pre‑drilled holes, then snap the roller tube into place. Ensure the cord‑free lift mechanism operates smoothly by pulling the shade up and down a few times.
- Connect to the SmartBridge (RYSE only). Plug the SmartBridge into a power outlet, then use the companion app to pair the motor. The app will guide the user through Wi‑Fi configuration and firmware updates.
- Test the operation. Use the mobile app to raise and lower the blind. Confirm that the movement is quiet and that the blind stops at the desired positions.
The entire installation process typically requires less than 30 minutes for a single window, aligning with the product claim of “Simple DIY Installation in Less Than 5 Minutes!” for RYSE SmartShade.
Step 4: Configure Automation and Fine‑Tune Settings
After successful installation, integrate the blind with a home automation platform. Open the RYSE or AOSKY app and create schedules based on the glare data collected in Step 1. For example, set the blinds to lower to 30 % opacity at 10:00 am when direct sunlight begins to strike the monitor.
Enable geofencing if the platform supports it; the blinds will adjust automatically when the user leaves the house, improving energy efficiency. Additionally, create voice‑controlled routines such as “Good morning, raise the blinds” to streamline daily workflows.
Fine‑tune the position by observing the screen after each adjustment. Small increments of 5 % can make a noticeable difference in comfort without sacrificing natural light.
Tips & Pro Tips
- Place a matte anti‑glare screen protector on the monitor to further reduce reflections.
- Combine blinds with a low‑profile desk lamp that offers adjustable colour temperature to balance ambient lighting.
- When using RYSE SmartShade, keep the battery pack charged weekly to avoid unexpected power loss.
- For AOSKY shades, tighten the aluminum brackets securely to prevent sagging over time.
- Consider adding a second blind layer (e.g., sheer curtains) for added privacy without compromising daylight.
Troubleshooting
| Problem | Possible Cause | Solution |
|---|---|---|
| Blind does not respond to app commands | Wi‑Fi connectivity issue | Restart the SmartBridge, ensure the router is within range, and re‑pair the device. |
| Motor stalls mid‑movement | Obstruction on the beaded chain | Inspect the chain for tangled fabric and clear any debris. |
| Roller shade tilts or wobbles | Improper bracket alignment | Re‑install brackets using a level to guarantee horizontal placement. |
Conclusion
By systematically assessing glare, selecting a smart blind solution, installing the hardware, and configuring automation, one can dramatically improve visual comfort at a standing desk. The recommended products—RYSE SmartShade and AOSKY Cordless Roller Shades—offer reliable, environmentally responsible options that integrate seamlessly with modern smart home ecosystems. Implementing these steps will reduce eye strain, enhance productivity, and contribute to a more sustainable office environment.
Products Mentioned in This Guide
Frequently Asked Questions
How do I measure screen glare before installing smart blinds?
Use a handheld glare meter or a smartphone app to record luminance contrast on your monitor, noting the times of day when reflections are strongest.
Why choose motorised smart blinds over manual blinds for glare control?
Motorised blinds can be programmed or voice‑controlled to adjust automatically with changing sunlight, ensuring consistent glare reduction without manual effort.
Can I integrate smart blinds with Alexa or Google Assistant?
Yes; most smart blind kits support Alexa, Google Assistant, or Apple HomeKit, allowing you to set schedules or issue voice commands to raise or lower the blinds.
What tools are required for installing smart blinds on a standing‑desk window?
A screwdriver set, measuring tape or laser distance meter, and optionally a power drill for faster mounting of the brackets.
How often should I recalibrate my smart blinds for optimal glare reduction?
Recalibrate seasonally or after major daylight changes to update sunrise/sunset times and ensure the blinds respond correctly to new light patterns.